
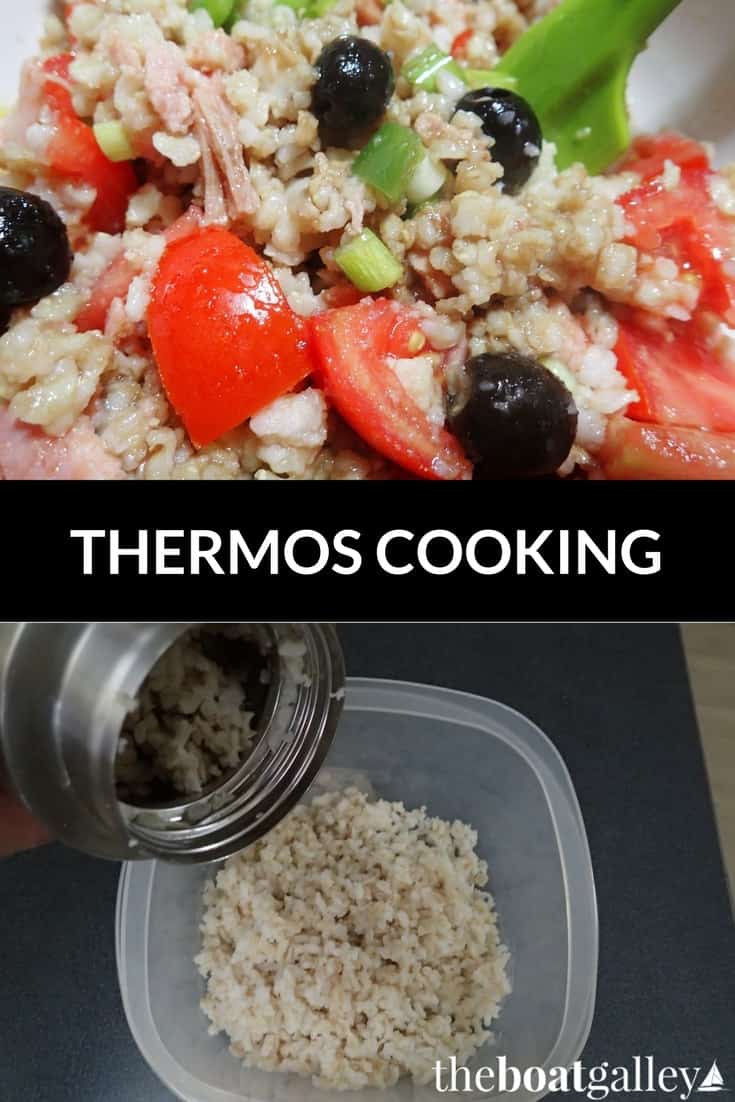
Thermos cooking is one of the best techniques in the boat galley. You use a fraction of the propane, keep the heat out of the cabin, and the food cooks itself while you’re off doing something else.
The basic idea is simple: heat the food, seal it in a well-insulated Thermos, and let retained heat finish the cooking over 1 to 8 hours. But the details matter. After years of doing this aboard, I’ve learned 11 key points that make the difference between a perfectly cooked meal and lukewarm mush.
For larger quantities and full main dishes, a thermal cooker works on the same principle and is worth knowing about. But for individual foods, side dishes, and cooking for two, a good wide-mouth Thermos is hard to beat.
1. Plan Ahead
Thermos cooking takes time. You can’t decide at 5 PM that you want soup for dinner at 6. Most foods need 1.5 to 8 hours in the Thermos, so start early in the day.
2. Select the Right Thermos
Not all vacuum bottles are equal. For thermos cooking, you need one that is:
- Well-insulated. The more heat it retains, the better it cooks. Stainless steel with vacuum insulation is the standard to aim for.
- Sized right. Your food needs to nearly fill the Thermos to cook efficiently. Too much empty space means the contents cool off before cooking is done.
- Wide-mouth. This makes it far easier to get food in and out, and to clean afterward.
My top recommendation is the Thermos Nissan line. They’re stainless steel inside and out, with an insulated stopper — which most competing brands skip. That stopper matters more than people realize, since heat rises straight out the top if it isn’t insulated.
- The 48-ounce Thermos Nissan wide-mouth bottle (Amazon) is the workhorse size for soups, stews, chili, and spaghetti sauce for two.
- The 16-ounce size (Amazon) is great for a single food — a side of rice, a batch of beans, or one food for two people.
- Zojirushi (Amazon) is another strong brand worth considering.
For a deeper look at what makes a Thermos worth buying, see Best Thermos Bottles for Boat Life.
Avoid inexpensive plastic insulated bottles. They may keep coffee warm for an hour, but they don’t hold heat well enough to cook with. They also stain and pick up food odors.
3. Cook Appropriate Foods
Thermos cooking works best for foods cooked in liquid. It’s ideal for:
- Rice (especially non-instant brown rice, which normally needs 45 minutes of simmering)
- Soups, stews, and chili (see my Split Pea Soup in a Thermos recipe)
- Spaghetti sauce
- Dried beans — soaking and cooking them this way saves a ton of propane (see the Cooking Dried Beans in a Thermos recipe)
- Chicken or beef, pre-cooked for use in a soup, casserole, or Mexican dish
- Reconstituting dried and freeze-dried foods
- Most crock pot recipes, adjusted to fit your Thermos
Avoid these in a Thermos:
- Foods that overcook easily
- Dishes that require adding ingredients partway through cooking (every time you open it, you lose heat)
- Cheese-in-the-mix dishes — it sticks to the inside and is a nightmare to clean
- Foods that can’t be brought to a full rolling boil before going in
Yogurt is the one notable exception to the “must reach boiling” rule. See how to make your own yogurt aboard.
4. Preheat the Bottle
Before you prepare the food, fill the Thermos with boiling water, put the stopper in, and let it sit for at least 5 minutes. This heats the inside of the bottle so that when the food goes in, all the heat stays in the food rather than being absorbed by a cold bottle.
Don’t empty the preheat water until you’re ready to fill the Thermos with food. Save the water — use it in the recipe or for something else.
5. Fill the Thermos in the Sink
Whenever you’re pouring hot liquid or a hot mixture into the Thermos, set the Thermos in the sink first. The lower height makes it easier to pour without spilling, and anything that splashes stays contained. A canning funnel (Amazon) is also a big help when pouring chunky food in.
6. Brown Meat First
Just as with a crock pot, anything that needs browning — meat, onions for chili — has to be done on the stove first. Food will cook in the Thermos, but it won’t brown.
7. Pre-Cook the Food
This was my biggest mistake the first time I tried thermos cooking. I put all the dry ingredients in the bottle, poured boiling water over the top, and six hours later I had a mass of lukewarm raw ingredients. The boiling water only moderately warmed everything up, and there wasn’t enough heat left to finish the job.
Pre-cooking doesn’t mean just bringing things to a boil and then pouring into the Thermos. You need the cooking to actually begin before the food goes in. Cook right up to the point where you’d normally turn the heat down to a simmer. That’s when it goes into the Thermos.
8. Cooking Times
Times vary depending on how well your Thermos holds heat, the ambient temperature (a 100-degree cockpit versus a 40-degree cabin makes a real difference), and how large the pieces of food are.
| Food | Pre-Cook Time (after coming to a boil) | Thermos Time |
|---|---|---|
| White rice (not instant)* | 5 minutes | 1.5 hours |
| Brown rice (not instant)* | 5 minutes | 4 to 5 hours |
| Beef stew meat, 1″ cubes | 15 minutes | 4 hours |
| Chicken, 1″ pieces | 8 minutes | 3 hours |
| Dried beans — soaking | 5 minutes | 2 hours |
| Dried beans — cooking (after soaking, change water) | 10 minutes | 3 hours |
| Potato, 1″ cubes | 5 minutes | 2 hours |
*Because rice expands as it absorbs water, leave at least 1 inch of headroom at the top of the Thermos.
For soups, stews, chili, spaghetti sauce, and similar dishes, cook on the stove as you normally would until the point where the recipe says to simmer for an extended time. Then put it in the preheated Thermos and let it sit for roughly twice the simmering time.
9. Re-Heat if Necessary
Depending on your Thermos, the ambient temperature, and the total cooking time needed, you may have to reheat the contents partway through.
Until you know how well your bottle holds heat in your climate, check the contents halfway through if the total Thermos time is over 3 hours. Open it and look for steam. No steam means the food isn’t hot enough to keep cooking, and it needs to go back on the stove.
To reheat, pour the contents into a pan and re-stopper the bottle to keep it warm. Bring the food to a full rolling boil, then put it back in the Thermos and seal it up again.
10. Finishing on the Stove
There’s nothing wrong with serving food straight from the Thermos. But for most dishes, I prefer to pour the food into a pan and cook it for 5 to 10 minutes on the stove to finish. This gives me a chance to adjust the liquid — add more if it’s too thick, reduce it if it’s too thin — and taste for seasoning.
That said, if you’re trying to conserve propane or taking a meal on a hike ashore, straight from the Thermos works fine.
11. Cleaning Your Thermos
A bottle brush (Amazon) is essential for getting down inside the bottle. Regular dish soap works well. Baking soda helps with food odors and stuck-on bits.
Don’t use steel wool or abrasive scrubbing pads on stainless bottles — they can scratch the surface and lead to rust over time.
Thermos cooking is one of those techniques that sounds fiddly until you’ve done it twice. After that, it becomes second nature — and you’ll wonder how you cooked without it.
Want to Take It Further?
The Boat Galley Cookbook has 800+ recipes designed for small galleys and real cruising conditions — including an entire chapter on galley techniques like this one, plus 100+ ingredient substitutions and quick ideas for when you’re short on inspiration.

Carolyn Shearlock has lived aboard full-time for 17 years, splitting her time between a Tayana 37 monohull and a Gemini 105 catamaran. She’s cruised over 14,000 miles, from Pacific Mexico and Central America to Florida and the Bahamas, gaining firsthand experience with the joys and challenges of life on the water.
Through The Boat Galley, Carolyn has helped thousands of people explore, prepare for, and enjoy life afloat. She shares her expertise as an instructor at Cruisers University, in leading boating publications, and through her bestselling book, The Boat Galley Cookbook. She is passionate about helping others embark on their liveaboard journey—making life on the water simpler, safer, and more enjoyable.
The Boat Galley says
Yes it is! Pages 70 to 74 🙂