
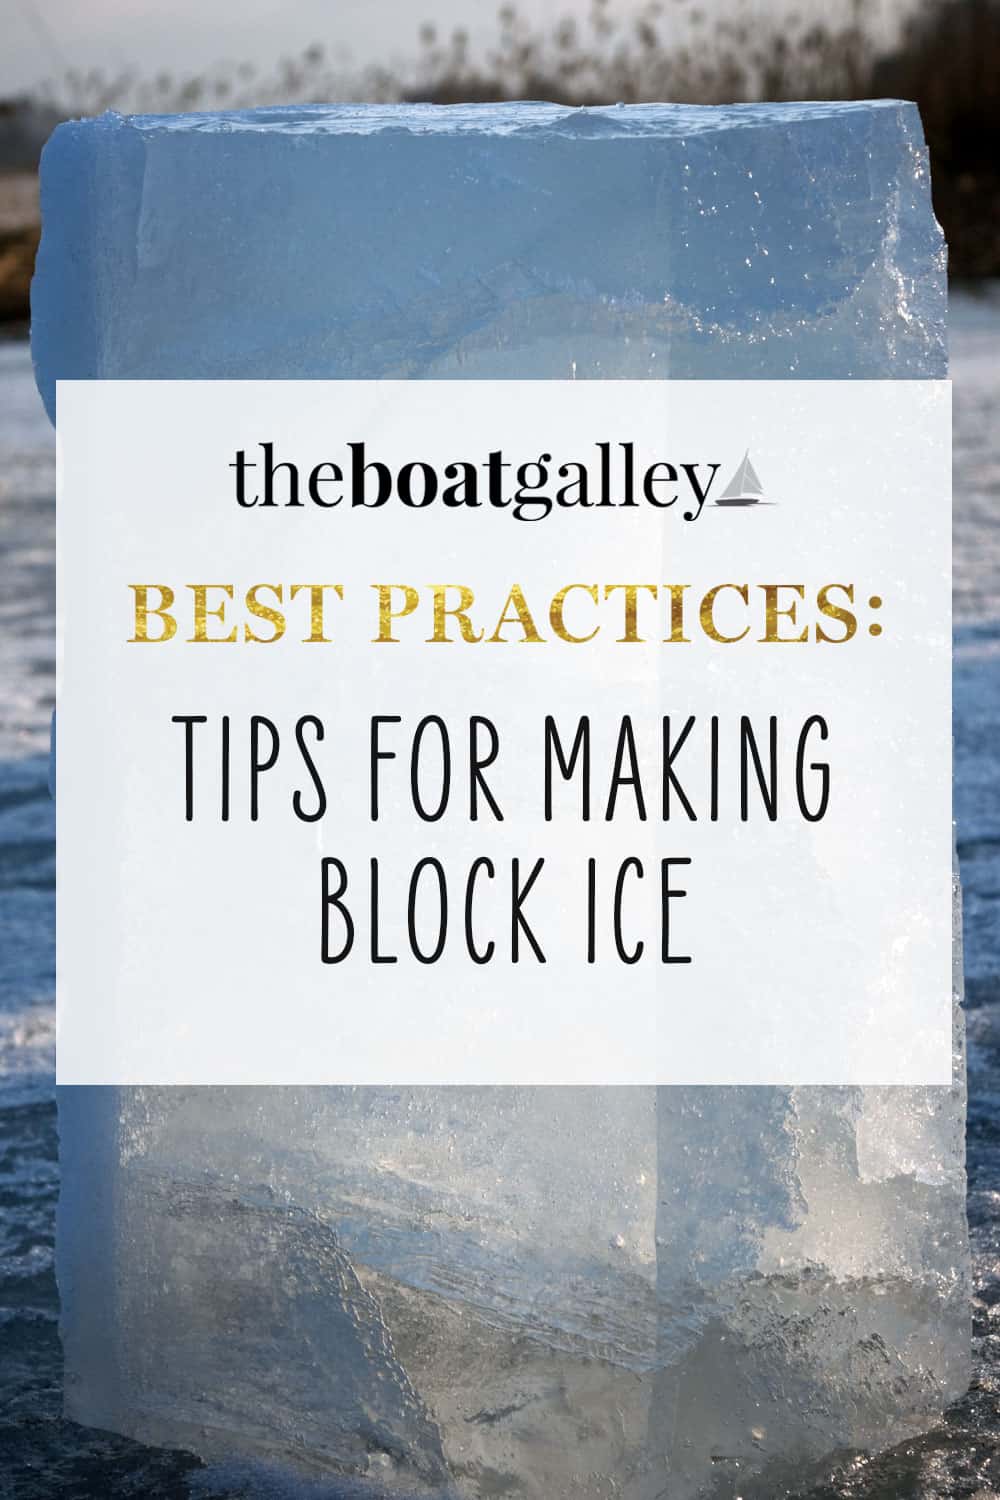
To make block ice at home for your cooler, freeze water in layers: add about half an inch of water to your container, let it freeze for roughly an hour, then add the next layer. A full block takes 24 to 48 hours total, so plan to start it a day or two before you leave home.
Block ice is worth that effort. It lasts far longer than cubes in a cooler, costs less than bought ice, and you get exactly the size that fits your setup. I’ve been making it for years, and I’ve had some spectacular disasters along the way. Here’s what I’ve learned.
If you use a cooler for food storage, getting the ice right is the foundation of everything else.
Choosing a Container
The best container for making block ice at home is a plastic storage bin around 6 to 8 inches deep. It’s inexpensive, available in a range of sizes, and flexible enough that the finished block releases easily when you’re ready to use it.
A metal pan also works and handles the expansion of freezing water better than plastic. The catch is that metal pans can be hard to find in the sizes you need for a cooler block.
Before you buy anything, measure two things: your cooler and your freezer. The container has to fit inside both, and it’s easy to forget that second part.
I learned this the hard way. I went out and bought a container sized to fill my entire cooler, got home, and discovered it wouldn’t fit in my freezer. Back to the store.
I now use a slightly smaller container, then fill the gaps around the block with cube ice so the bottom of the cooler is completely covered. I still have to rearrange the freezer a bit to fit it in there, but it works.
What About Milk Jugs?
Milk jugs and plastic bottles are a popular option for making ice blocks at home, and they work well. Three things to know going in:
- The plastic insulates the ice, so it actually lasts even longer in your cooler. The tradeoff is that the plastic sits between the ice and your food, so items won’t get quite as cold as they would with bare ice.
- The sides bow outward as the water freezes and expands. Leave space between bottles and don’t count on them fitting tightly together.
- Don’t fill the bottle all the way. The expanding water can crack it. Fill it partway, let it freeze, then add more.
How to Freeze Blocks of Ice
Start with the empty container in the freezer, then fill it using a pitcher. Add about half an inch of water at a time. Let each layer freeze for roughly an hour before adding the next. That’s the whole method — and it matters.
I found out the hard way what happens when you try to skip steps.
My first instinct was to fill the container at the kitchen sink and carry it to the freezer. It’s heavy and it sloshes. Water went down the front of my shirt on the first step and hit my shorts on the second. Then, just as I was sliding the bin into the freezer, the door started closing on me and most of what was left went on the floor.
So I put the empty bin in the freezer first and filled it with a pitcher. Better. Then I filled it almost to the top of its 6-inch height, figuring the expanding water would push upward.
It didn’t.
Long before it was fully frozen, the expanding ice cracked the plastic bin. The unfrozen water gushed through the cracks, formed a 1-inch-deep puddle on the freezer floor, and froze there, entombing several bags of vegetables and meat. The next morning I defrosted the entire freezer to excavate what can only be described as an ice sculpture. Then another trip to the store for a new bin.
Half an inch at a time. One hour per layer. No more disasters.
When the block is ready, run warm water over the outside of the container for a minute or two and it will release cleanly.
Making Block Ice Faster
If you’re short on time, you can have a solid block in about 6 hours. Add a layer of ice cubes to your container, then pour about an inch of water over them. Let that freeze — it takes 30 minutes or less because the water layer is thin and surrounded by already-frozen ice. Then add another layer of ice cubes, another inch of water, and freeze again. Repeat until the block is as thick as you need.
A 4 to 6-inch block using this method takes about 6 hours from start to finish.
Want to Go Further?
If you’re managing a cooler as your main cold storage, knowing which foods don’t need to be in the cooler at all is just as important as good ice. My book Storing Food Without Refrigeration covers hundreds of foods, vegetables, fruit, eggs, dairy, meat, condiments, and more, so you can save your ice for what truly needs to stay cold.
- Paperback or PDF from our store — PDF means no shipping, start reading immediately
- Paperback from Amazon

Carolyn Shearlock has lived aboard full-time for 17 years, splitting her time between a Tayana 37 monohull and a Gemini 105 catamaran. She’s cruised over 14,000 miles, from Pacific Mexico and Central America to Florida and the Bahamas, gaining firsthand experience with the joys and challenges of life on the water.
Through The Boat Galley, Carolyn has helped thousands of people explore, prepare for, and enjoy life afloat. She shares her expertise as an instructor at Cruisers University, in leading boating publications, and through her bestselling book, The Boat Galley Cookbook. She is passionate about helping others embark on their liveaboard journey—making life on the water simpler, safer, and more enjoyable.
Mick O'Gorman says
I don’t have a comment but a question please. Before I get to it I’d like to say I’ve taken refuge in your website and in dreaming of my first water voyage, a trip down the ICW with two friends. We’re all studying up. Now, my question – whereas you’ve detailed making ice blocks, I have no idea what a cruiser would need an ice block for! Thank you for you patience –
Mick
Mary @ Book Lose Weight Fast says
At risk of sounding like a nerd, if you want to get the best out of your ice, you need to wrap your head around some physics principals. Remember the action of ice melting is what produces the ‘coldness’ – that is, when ice melts it uses energy, one of the most common forms of energy is ‘heat’ thus when ice melts it effectively ‘burns heat’ resulting in the atmosphere being cooled. Therefore ‘ice melting’ is not your enemy but rather your friend, the trick is harnessing that friendship for the benefit of what you are trying to achieve. Eg are you trying to chill those beers in a hurry or are you trying to cross the Simpson with meat for the BBQ on night 4. If you can comprehend this you’re on your way, if not read it again from the top slowly because it’s really important.
So what does this mean? Well as Dave has correctly alluded to, we know the size of the ice affects how quickly it melts. That is small ice melts quickly & large ice takes longer to melt, this is due to the different ratio of surface area vs volume of the cube. I can go into more detail of how that works but I will leave it there for fear of sounding too nerdy. Hang in there it will start making sense soon. So put simply the volume (weight) of ice will determine the amount of cooling power available (The size of your fuel tank) and the size of the cube will determine the speed of release (how far down you push the accelerator). Just tell me which ice to use, I hear you ask? Well as stated earlier it depends what you are trying to do. Let run through 3 examples.
Party Ice
As the name suggests if you are having a party (say 1-8 hrs long) the small ice is the go. Due to its high surface are it will release its magic power relatively quickly, bringing your beer and wine down to ‘Ice Cold’ quickly. You will notice that a lot of party ice is actually a donut shape (eg it has a hole in the middle), this is not so that you can thread it on to a necklace on a hot day to keep you cool, but rather giving the ice even more surface area. The additional tip here is that water is a better conductor then air this means that if you have water in your drinks esky your drinks will cool even quicker and stay colder, so don’t drain the water out. Infarct if you want really want to cool drinks quickly (ie you forgot to put the drinks in and guests are already knocking on the door) try pouring some water in the esky to make sure the ice can cool the beer quickly, your ice won’t last as long (due to having to cool the water as well) but your drinks will be ready when the BBQ is, rather than when it is time for everyone to go home. You can always make an excuse to duck down the bottle’o and grab more ice… serving warm beer – now that is unforgivable! Another benefit of water in your party esky is that when you return wine or soft drink bottles to the esky they will slide down between the ice easily keeping them cold, rather than sitting on the surface getting warm.
Block Ice
Block ice is your long range ice – it has a lower surface area to volume ratio and thus will take longer to melt resulting in a slow and more economic release of its magic power. It will take longer to cool stuff down from room temperature and may not keep the environment at zero degrees (more likely around 2-4 deg, depending on the set up, which is fine for milk) but when looked after block ice will go the distance (note also Dave’s salt trick in tip 3 above). This long range is critical weather you are tackling The Old Tele Track or just base camping in the Flinders. It will get you through a number of days without visiting civilisation – and isn’t that what camping is all about?
Crushed Ice
At the other end of the scale to block ice, crunched ice is the supercharged gas guzzler of the ice world – It has lethal power but will be spent before you can say ‘who wants a cold beer?’ Scientists and instrument technicians used crushed pure water crushed ice solution to calibrate their instruments because it melt so quickly that when used correctly guarantees zero deg C temperature. Perfect to pour in your cocktail or the initial chilling of your esky, but it won’t even get your esky three suburbs before its magic has all been released.
My top tips for making ice last
I should start by acknowledging the top tips above which are all very good tips, especially keeping it in a cool shady place. Further to those tips I would add the following comments;
1 Put the milk/juice bottle/butter back in the esky as soon as possible. Pour you drink or prepare your breaky and put it away, this is because while it is out, it is warming up (especially during lunch on a hot day in Marree) when you put it back it will melt ice until to get rid of the warmth it has taken on. The longer it is out – the more ice you will waste (unless you’re camping in the snow… in which case, why are you reading this?).
2 Freeze as much as possible before leaving home. This includes juice, meat and pre-prepared meals. This adds fuel to your long range tank. Often once you get into the outback you can buy frozen meat when you stock up. Take advantage of this wherever possible.
3 As Ricky discussed – if you have 2 eskys or are traveling with a friend, dedicate one as an everyday esky and one as a long term esky. You would be amazed how long meat will stay frozen if you pack an esky full and don’t open it.
4 Let leftover cool down before putting them in the esky for tomorrow’s lunch.
5 Raw mince does not keep long once thawed out. We find that precooking our mince before leaving home and freezing it makes it last much longer. Just make sure you heat it up properly before consuming.
6 keep your chocolate in a sealed air tight container. This will stop it droning and keep you in the Ms’ good books (this goes for vegetables too).
Remember when you move up to a camp fridge / freezer or if you are already running one, all of the tips in this blog will help you save amp/hrs on your battery as well, meaning that your battery’s will last longer saving weight on carrying additional power cells. So get into some good cold storage habits and get out there and enjoy Australia.
ENJOY 🙂
kaye says
When we go camping for the week. I precook meals & freeze them. I also keep the meats frozen too for the grill. I stack in order that I plan to use. So I just have to grab off the top & shut quickly.
Kay says
Mary, are you a teacher/professor? I thoroughly enjoyed your explanation of the ice here. I could sit through any classes you teach! If you are not a teacher/professor you missed your calling. 😊
As I was reading this, it reminded me of an algebra teacher I had that could explain anything to you and make it fun! I’m 53 and still think of the fun we had in her class!
Nannon says
I never thought about stringing ice on a necklace during summertime…my kids are going to love this!!
Also, thank you for sharing all of this. My husband and I aren’t on a boat, but have been living without a fridge thanks to a Freon leak and waiting on the home warranty company for a replacement. We have just been eating out (ick) but this info has given me hope that we can move forward and get back to our old routine until we get the new one. Thanks again!
Carolyn Shearlock says
Hi Mick!
Enjoy your trip down the ICW — it’s a lot of fun, with great places to explore and lots of wildlife along the way.
If you don’t have refrigeration, but are using an ice box or a cooler for your food storage, block ice will last a LOT longer than ice cubes (ice cubes will get things really cold, really fast — such as drink cans — but they also melt really fast). Lots of people who just take their boats out for a weekend don’t have refrigeration, but just pack up a big cooler at home . . . with a block of ice under the food bins.
Thanks for reading!
Carolyn
jpatti says
When we moved to our current house, we had a small chest freezer, but no fridge and got by via using empty 2-liters soda bottles filled with water which we froze and stuck in a cooler.
Now, we have a large and too-deep deep freeze – I can’t reach the bottom. So we put water-filled 2-liters lying down across the bottom and covered with plywood. This makes everything easier to reach. When we lost electric for a week after a storm, the food all stayed frozen (except the stuff in the baskets).
Also, those 2-liters are water storage in case the electricity were off longer, as we have a well and need electric to pump water.
We keep a few above the plywood to use in coolers. I get milk delivered by a milkman and he grabs a couple to stick in the coolers instead of charging me for freezer packs.
We also use them camping a lot. We pack frozen food in coolers with them, and intend to eat that food first. By the time we are eating the meals planned with non-refrigerated foods, they have thawed and provide potable water for the later part of the trip.
The only downside is they are round instead of square. I prefer everything I store to be square. The Pepsi company needs to get into square bottles! 😉
Chris says
Jpatti. You sound take a look into some of the large juice containers. They’re often squared off. You can also freeze the juice and use it as your ice block. As it melts pour into a cup and add your favorite rum. Lol
Jamie says
Hi, Carolyn! One thing Brock & I have also used for block ice with great success has been Ziploc baggies. They come in all different sizes (quart to gallon, all have worked), hold water well and can be placed amongst the food & drink in varying configurations. Plus, we don’t have to store a large plastic container of any size onboard. If one tears eventually, well, you’re only out a Ziploc bag and some water.
Chris says
I like to take a case of bottled water and stash them away throughout the freezer. They are perfect for the cooler and when they melt..mmmm fresh water!
kaye says
I do that with the kids lunches when they are going to be out for the day. Then their water is cold to drink too.
Dan Thomas on Facebook says
Use milk jugs, fill 3/4 full let freez solid. Freeze with caps off. If it’s just day or week end trip. Fill the empty space in jugs with cold tap water. This gives you cold for cooler and cold drinking water. If for a longer stay, after the jugs have frozen solid add some more water to the jug and let this freeze solid too. Then just cap it, and place sealed jug in cooler. Keeps stuff cold the water is contained and still useable. For small coolers we use the quart Gatorade bottles the same away as mentioned above. These can be used in bigger coolers too, But they melt quicker. The quart bottles or 1/2 gallon milk jugs can be placed around food packages to keep cold evenly.
Carleen Southard says
This article was timed perfectly! I just spilled a Rubbermaid container all over the garage floor while trying to poor water in to it while it was in the freezer. We have 6 days until we are leaving so based on your article I will feed a few inches of water at a time in to the tub to keep it from expanding and cracking the container. Based on past experiences I made room and put the empty container in the freezer but I wasn’t able to reach the tub with the water so I had to pull out the container and I spilled it all over the garage floor. Thanks so much for your timely tips:)
Alan says
Large metal pans used in chafing dishes are available at stores that sell catering/restaurant supplies, including Sam’s. The only problem would be that they are not airtight and the water would have to be frozen before sailing. It’s easy to get the ice out of them if needed.
JB says
A quick experiment for those with a freezer to try and answer. As I have a boat and not a yacht, I can’t. I was emphatically told by a surveyor a long time ago that yachts have ice makers, boats do not…
Since saltwater freezes at a lower temperature (-5°f if memory serves), wouldn’t it make sense to use saltwater in gallon jugs to compensate for any insulating of the plastic? Assuming, of course, that you can find a freezer that gets that cold.
Frances Liz Fernandez says
I prefer smaller block containers. I fill these to different heights so I can wedge the custom blocks as needed in the cooler especi’ally for extended trips. In the past I tried gallon jugs and 2 liter soda ‘bottles but then can’t fit enough food in the cooler! Lots of smaller blocks seems to work for me
The Boat Galley says
That’s a good idea, depending on how you arrange your cooler and food. I put the ice on the bottom, then have metal racks and bins that the food goes in to keep it out of the melt water.
Colin Mombourquette says
Thank you for another great article Carolyn; you had me smiling and laughing, not at you but at myself for having many of the same experiences with making block ice.
The Boat Galley says
I can’t really “like” that . . . 🙂
Louis Maconi says
Though I’ve not tried it, I understand that a mixture 6:1 of water to saw dust or other wood pulp will make blocks of ice that last an order of magnitude longer than just plain water. This is called Pykrete
(http://en.wikipedia.org/wiki/Pykrete). I bet this would be really good for a long trip. The downside, I imagine, is the cleanup when it finally does melt. I suppose a little fore-thought into containing the mess would be in order.
Frances Liz Fernandez says
I know its a luxury but I’ve also use two coolers. One for drinks which gets opened more often and one for just food. I transfer the ice blocks as needed.
Shari says
I mostly use 32 oz yogurt containers. They will deform some, but if I crack one, I’m going to eat more yogurt soon. I don’t really have room to do big blocks but anything bigger than cubes makes a difference. You can leave the container on (and have water to drink eventually) or pop the giant cubes out.
Elizabeth Aristeguieta says
Great article Carolyn!
Debbie says
The liners inside of boxes of wine are my go-to choice for blocked ice! After you enjoy the wine, rinse out the liner. It will take some time under the faucet because the opening is small. But once you fill the bladder with water, freeze it laying flat in the freezer. You can then line your cooler with it. Your food will always stay dry. And if you need fresh drinking water, its available! Good luck!
~Debbie from CT
Josee says
What a great idea! 🙂
Michael says
It doesn’t appear that any one else has mentioned it. The circle dimple on the side of a milk jug is there to allow for expansion when the milk gets frozen so the jug doesn’t burst.
beatriceflores81 says
Glad to see! very nice and helpful blog.
Diana K Weigel says
Just in time. Our at least 20 year old Adler Barbour just gave up the ghost. Not a bad run but expensive to replace in the short time we have left in the sailing season here in New England. Guess I’m making ice blocks.
The Boat Galley says
Oh, sorry to hear that!
Diana K Weigel says
The Boat Galley it did have a really long run! Can’t repair it since it’s an old freon system. I’ve heard the newer ones are more energy efficient. If they last as long it’ll be a good investment. I don’t know of any home refrigerators that last as long!
David Lake says
foolproof recipe for ice,……………water,……..cold,……mix all ingedients and wait……………………….ha ha ha ha
Dominick says
I just had to laugh at the last line of the article. I just thought “block ice” what a good idea, I don’t need to read the article (I’m 68 and never read a book till I was 50, got that reading thing, hard time is school). SO GLAD I read the article cause I’d of done exactly what you did. Really like your site, just stumbled upon it tonight while researching for a long camping trip in spring.
Gene Turner says
Balloons filled and frozen make great
Ice although round and smaller. Flexible
No broken bins and fit into freezer as well as ice chest
Lindy Sullenberger says
Thank you for sharing your info.
Kathy says
this is really a good site, so glad i found it. And i bought the book too. thought I’d share my experience with making ice blocks.
I use plastic dishpans (the camping kind!), to make ice blocks in my chest freezer. (clean them dishpans first, please). I make 2 at a time. they’re the perfect size for most coolers and an easy size to handle but big enough to last several days. I figured out after making the first one to only add an inch or so of water every half day, otherwise it takes too long to freeze. Or like Carolyn said add some ice cubes, then add water.
once frozen, I put into a small garbage bag to store them (cuz I can’t find ziplocs big enough), then make a couple more and just keep them in the freezer during hurricane season, and then for camping in the fall/winter Fla camping season.
tiana says
Hey guys any ideas on easy ways to remove the ice block from a large (say 10x10inch) container? Just have had some trouble removing it without melting the half of it!
thanks!
Carolyn Shearlock says
You can either let them sit out for a couple of minutes or wipe the outside of the container with warm water — you just need to get a very thin layer of ice melted on the outside to pop it out. I’ve never had a problem if I let it sit at room temp for 3 to 5 minutes, and not much melts.
Amy Adams says
Debbie Downer here. Isn’t reusing plastic bottles/containers considered an unhealthy practice because of the chemicals in the plastic? I suppose if you’re only going to use the ice for chilling and not going to drink the melt-water/liquid, you avoid the risk of leaching BPAs. I sure wish someone would come up with a BPA-free, square or rectangular container just for the purpose of making block-ice. Maybe someone already has… Personally, I use gallon-size “Freezer” storage bags, frozen flat. If I don’t use the melted water, I just re-freeze.
Carolyn Shearlock says
If that were the case, it’d be bad to drink the contents the first time. Most bottles in the US — and especially the clear ones — are BPA-free now.
Cheri Burch says
We have a separate freezer on our sailboat. To make blocks of ice for the cooler of beverages (hard and otherwise), I use an 8×8 non stick cake pan with a cover. Putting it in the freezer then adding an inch of water, I invert the cover so I have a dry surface to put the frozen food back in. After 24 hours when I am ready to take the day’s food out of the freezer, I have a block of ice that goes in a zip lock and into the cooler. I start the next ice block at the same time. This allows us to always have cold beverages in the cooler and we only open the freezer once per day (unless it will be an ice cream day).
Candace says
To make ice blocks we use Minute Maid cartons from our fruit punch/orange juice. The carton doesn’t explode when filled and freezes nice into a actual block of ice that looks like it came from the store!
Rachel says
Have you ever made enough block ice to entirely fill a cooler to use as replacement ice blocks in your food cooler during the week? I am curious if this would even work.
I have a week long summer camping trip coming up, and in previous years we just kept buying new bags of ice. I love the block ice idea with the wire racks and baskets. So, I was thinking about creating enough block ice to fill another cooler with to use as ice storage for the food cooler. If the ice block cooler only had frozen blocks of ice in it, and was only opened when I needed to replace some ice in the other cooler, do you think it would remain frozen for 6 days?
Carolyn Shearlock says
I think there’s a good chance it would. It’s one of those things that I’d try at home first — and put the cooler full of block ice outdoors, not in your air-conditioned house. Let me know how it works!
Cameron says
I just went camping for 6 nights on the beach in Texas heat. Had one large cooler with 12 blocks of ice in it. Additionally I put a piece of dry ice on both ends in the middle. this cooler was only open once per day to retrieve eyes for a drink cooler and a food cooler. it was kept in the shade all day and I actually threw out four blocks when leaving on the 6th day. I’ve been doing this for years and the key is to only open it quickly once per day and make sure it never gets in the direct sunlight. The dry ice is the first to go but buys you at least a day and a half before your regular ice starts to melt at all.
Chris says
Thanks for the great tips. Thought you might find interesting. I always wondered why ice seemed to last longer from the 711 or Grocery store.I think this has something to do with it.
https://www.popularmechanics.com/home/how-to/a11117/the-pursuit-of-the-perfect-ice-cube-17114101/
Sarah says
I used cardboard boxes lined with trash bags! Worked perfectly!
Tammy says
Buy a Sno-Block Ice Machine!!! I can not stress enough how much I love mine and how much time and money I have saved!! Delta Ice in Louisiana makes them, the girl that helped me was Amanda and she was amazing! Google them for their number and you’ll thank me later!