Wondering if your roast chicken is done? Making yogurt and want to know if the milk is the right temperature? Are you baking bread for the first time and want to make sure the water’s not too hot for the yeast?
An instant-read “meat” thermometer doesn’t take up much room and can ensure perfect results in all these situations — and more.
For me, a thermometer that I’m going to use in a boat galley should be:
- accurate
- no batteries needed
- instant read
- thin probe that slides in easily
- numbers large enough that I can read
- temperature range from 100° F. to 200° F. — for bread, yogurt and meat
- not large to store
- shatterproof with no mercury
The CDN ProAccurate Insta-Read Large Dial Professional Thermometer meets these tests.
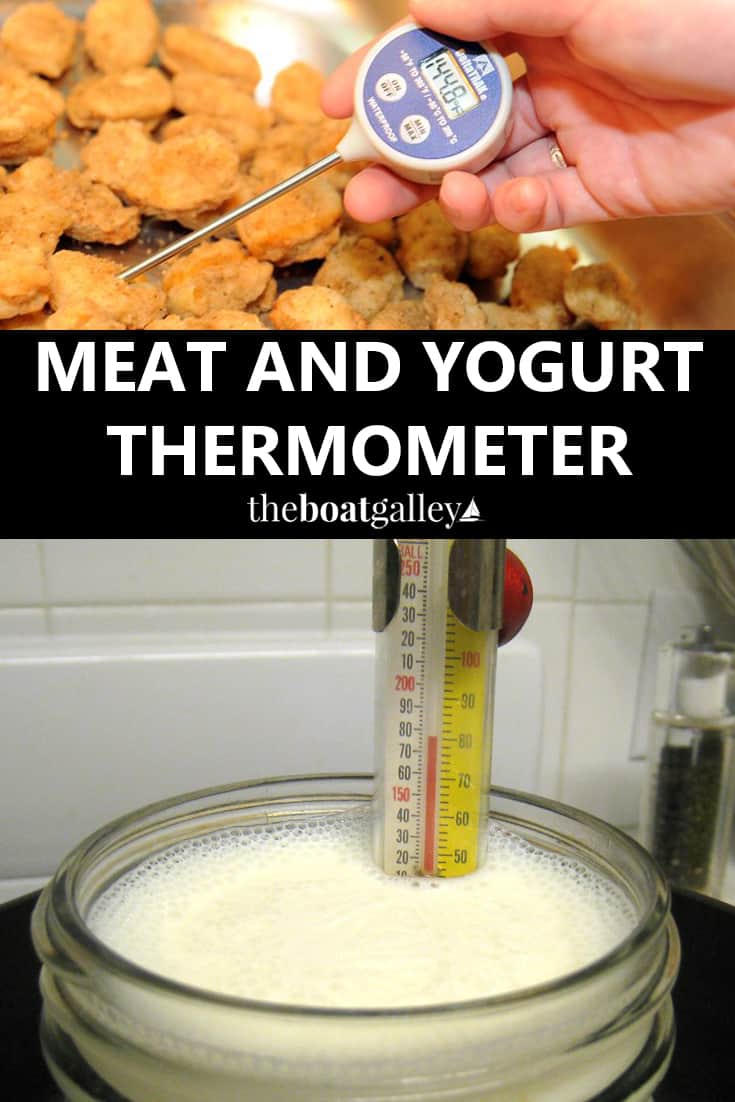
An instant-read thermometer is just what it sounds like. Unlike the older meat thermometers, you don’t leave it in while something is in the oven. Instead, you just stick it in and in a couple of seconds, it tells you the temperature.
Many instant-read thermometers are digital — meaning they are battery powered. And they take watch batteries, which you can’t always find in the size you need. So I prefer a dial type, which the CDN one is. (I do also have a digital, which I use for many photos here to show exact temperature readings: if you want digital, I like this one).
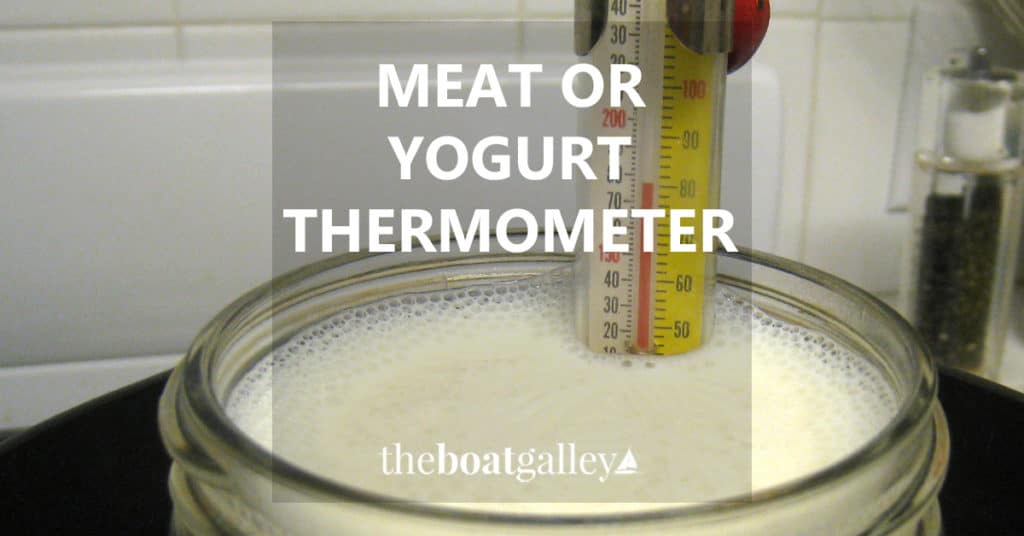
Some dials are small, which make them really easy to tuck into a drawer. But that tiny size makes them almost impossible to read. So I opt for a LARGE dial — if I’m making something where I care about the temperature, I want to see the temperature.
TIP: There are a few things that I make “all the time” using the thermometer — yogurt is one example. I took a permanent felt marker (Sharpie) and made a little line on the outside of the dial at the desired temperature. This makes checking the temperature a snap. Just don’t make so many extra marks that you can’t tell them apart!
This thermometer has a really wide temperature range — from 0° F to 220° F. That will cover bread-making, yogurt and meats, although it won’t be sufficient for most candy (but you really need a candy thermometer that clips on the side of the pan if you’re going to make candy — this style just isn’t designed to be used for candy-making as you’d be likely to burn your hand trying to get a reading).
The whole thermometer is shatterproof and contains no mercury. Both of these are important to me on a boat where there’s a greater chance of things breaking with the motion of the boat.
And, speaking of the motion of the boat causing problems, there’s a protective sheath for the stem with a clip on it. If you take it on deck to check meat you’re grilling, you can clip it into a pocket so there’s less chance of losing the thermometer overboard. The sheath is also good for protecting the stem from breakage from other items shifting when it’s just sitting in a drawer.
Finally, should you ever find that it doesn’t seem to be reading correctly, it can be recalibrated by the user. At sea level, it’s easy — you know (fresh) water boils at 212!

Carolyn Shearlock has lived aboard full-time for 17 years, splitting her time between a Tayana 37 monohull and a Gemini 105 catamaran. She’s cruised over 14,000 miles, from Pacific Mexico and Central America to Florida and the Bahamas, gaining firsthand experience with the joys and challenges of life on the water.
Through The Boat Galley, Carolyn has helped thousands of people explore, prepare for, and enjoy life afloat. She shares her expertise as an instructor at Cruisers University, in leading boating publications, and through her bestselling book, The Boat Galley Cookbook. She is passionate about helping others embark on their liveaboard journey—making life on the water simpler, safer, and more enjoyable.
Carolyn Shearlock says
Tara left this comment in 5 Tips for Baking Bread on a Boat and I thought it might be helpful to cross-post here as well:
Having an instant read thermometer has been indispensable to me when baking bread. I never knew if the bread was done all the way through, and I’d usually end up with a slightly moist loaf using the “browned and hollow sounding” method. The inside of a loaf should be between 190F and 200F when you take it out of the oven. Using the thermometer I’ve always had beautifully cooked bread. It is also helpful for figuring out if the ambient temperature is just right for each rise. I don’t have a place that gets consistently warm/cool enough, so my bread seems to rise in a different spot each time.
Dave Skolnick (S/V Auspicious) says
I use the classic Taylor thermometer: http://www.amazon.com/Taylor-Classic-Instant-Read-Pocket-Thermometer/dp/B00004XSC4/?tag=theboagal0a-20 . I have two in the galley and one in my delivery “go-bag.”
Mildred Pemberton says
How can you measure the temperature when making yogurt with this thermometer, Can you leave the thermometer in it’s sheath & fasten it on the pot? Without the sheath there is no way to fasten it to the pot and if you try to hold it, the steam burns your hand. Can you use the thermometer with the sheaf left on?
Carolyn Shearlock says
With yogurt, you’re aiming for a temperature between 110 and 120 degrees Farenheit — well below boiling. I hold it in the water long enough to get a reading — there isn’t any steam to burn your hand.It won’t work with the sheath on. I’m not trying to take the temp of the water in the pan, but of the milk and water mixture in the Thermos. That is, after I add the hot water to the milk but before adding the culture (starter).
Here’s how I make yogurt: https://theboatgalley.com/yogurt/ — it explains how I use the thermometer.
If you want a thermometer that you can leave in the pan, look at a candy thermometer such as this one on Amazon — they have a clip to attach it to the pan.
Dave Skolnick says
Carolyn first posted this article five years ago, and I responded three years ago. Clearly she still feels the same, and so do I. Quick-responding thermometers that are not dependent on batteries are the way to go. I still like the Taylor I linked to in 2013. I’ve gifted my “travel” one a number of times so my total count varies. At last count I have four. *grin*