While I was making electrical connections for a new propane solenoid, I should share some of the things I’ve learned about wiring projects over the years. This are little tricks and tips that I’ve never seen explicitly mentioned anywhere. Hopefully, they will make your next boat electrical project easier.
Before You Begin
Before we get to connection tips, make sure your work area is ready. Making wire connections generates lots of trash. Grab a small bowl or empty can to catch it. When you cut ends off stripped wire, cut over the bowl to keep little bits of wire from going everywhere. Believe me, you’ll thank me the next time walk barefoot around the boat and don’t end up with little bits of wire in your feet.
Now let’s move onto my best tips.
DIY Tips for Crimping Boat Wires
These are the best tips I’ve found in years of doing most of our boats’ electrical projects.
- Most times when you’re crimping two wires together, one wire is easier to get to than the other. Crimp that end first. Then you only have to make one crimp in the harder-to-access location!
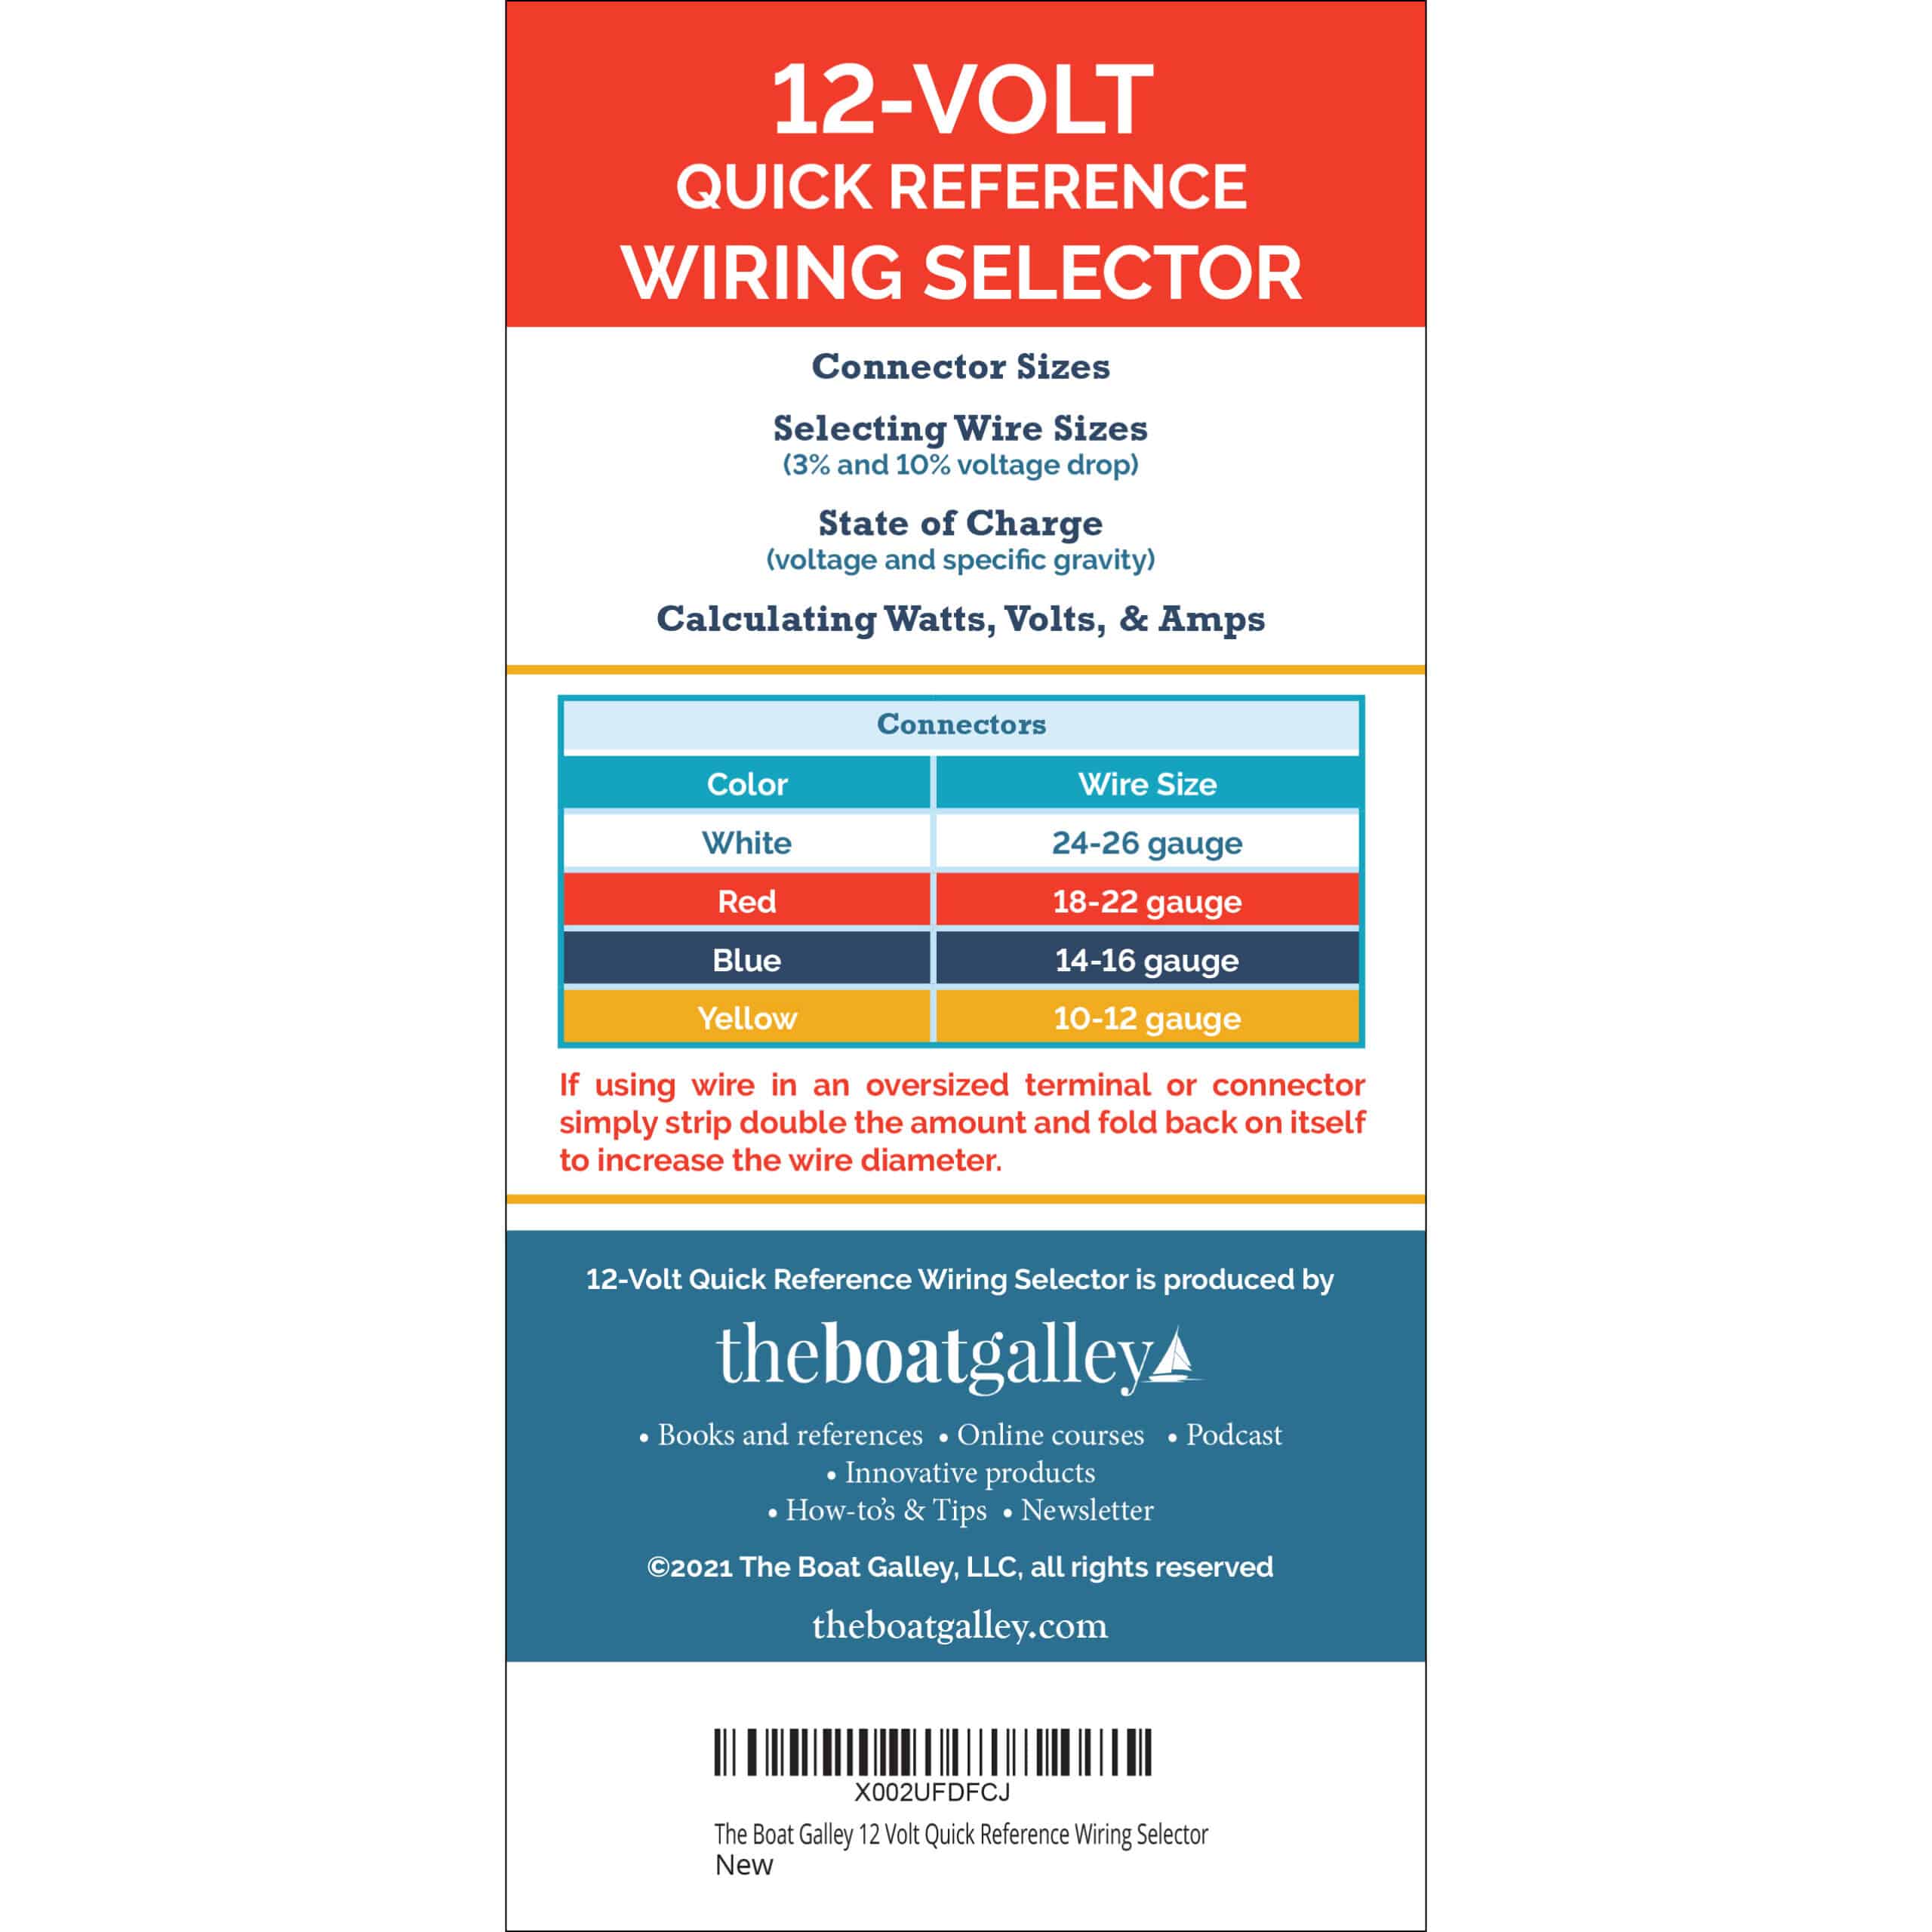
- If you are using tiny wire that’s too small for your smallest connector (many wires on LED lights fall into this category), strip double the amount that you normally would. When you fold the wire back on itself to be thick enough to crimp.
- Before crimping one end of a butt connector, test the connector on the other wire as well to be sure you’ve got the right size. Where there is a disparity in wire sizes, you can use a step-down connector.
- Crimpers flatten the connection. If using a butt connector to connect two wires, make both crimps with the same orientation. That way the flat spots aren’t at weird angles to one another. They’ll also be smaller and neater looking.
- Due to a broken wrist that healed poorly years ago, sometimes I need both hands to close the crimper. That, in turn, leaves me with zero hands to hold the wire in place in the connector. A wrap or two of almost any type of tape can hold the wire so it doesn’t slip out.
- After making a crimp, always tug on the wire to make sure you’ve got a solid connection.
- Use connectors with integrated shrink wrap.Or use separate shrink wrap to make watertight connections, even in places that should never see a drop of water. It’ll protect your wire and the connector from the salt and humidity in the air. It will make the connection less likely to come apart. The only time NOT to use shrink wrap is when working near gas, diesel, propane or any other flammable material. Why? Because you you can’t safely heat the material to shrink it.
- Good tools make the work so much easier. I didn’t realize how big of a difference there was until I spent just a tiny bit more and got top-rated ones. See my choices here.
And finally, to avoid equipment malfunction and lower the risk of an electrical fire, always be sure you’re using sufficiently large wire. Grab a copy of our 12V Wiring Selector and keep it with your electrical tools.
Here’s hoping your electrical projects all go smoothly and easily!
Related Posts

Carolyn Shearlock has lived aboard full-time for 17 years, splitting her time between a Tayana 37 monohull and a Gemini 105 catamaran. She’s cruised over 14,000 miles, from Pacific Mexico and Central America to Florida and the Bahamas, gaining firsthand experience with the joys and challenges of life on the water.
Through The Boat Galley, Carolyn has helped thousands of people explore, prepare for, and enjoy life afloat. She shares her expertise as an instructor at Cruisers University, in leading boating publications, and through her bestselling book, The Boat Galley Cookbook. She is passionate about helping others embark on their liveaboard journey—making life on the water simpler, safer, and more enjoyable.
Your VHF can do so much! Learn how to use ALL its features for just $39:









Leave a Reply