Installing a new halyard on a sailboat is pretty simple. You don’t even have to go up the mast as long as the old one is still there. It doesn’t even have to be in good shape (as you’d want it if you were going to use it to go aloft). It just has to be there.
Since we had to replace our spinnaker halyard this past weekend, I took photos of how we did it. Literally less than 10 minutes, and a big part of that was because I was taking pictures. It would have been under 5 minutes otherwise.
Joining the New Halyard to the Old
Basically, all you have to do is securely fasten the new halyard to the old, then use the old to pull the new into place. The key is securely. Just taping it together won’t do. And you obviously can’t tie a know in it and expect it to pass through the sheave. So how do you do it?
If the old halyard has a shackle on the “sail” end, start by cutting it off (we did this and had it spliced onto the new halyard — read about our splicing here).
Then use a 8- to 10-inch piece of Monel wire or sail twine to “stitch” the bitter end of the new halyard to the “sail” end of the old halyard.

If using wire, wrap it tightly around the line so it won’t catch on the fittings on the top of the mast or snag another halyard inside the mast.


We then wrap cheap electrical tape around the joint so that it is smooth. Don’t use a lot of layers — the key is to keep it thin and flexible.
Lower the Old Halyard
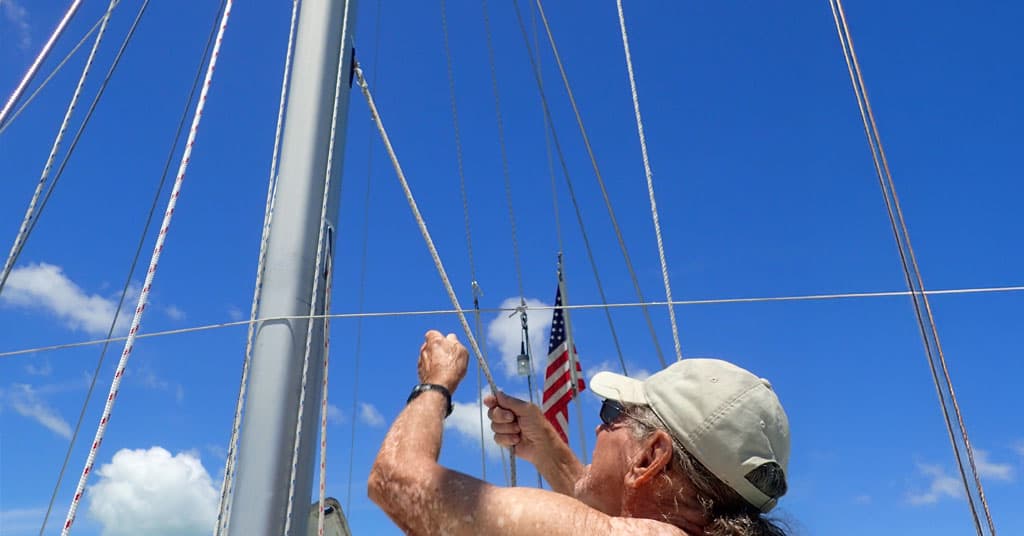
Start pulling gently down on the old halyard as if hoisting the sail. Make sure the halyards aren’t fouled and don’t have knots in them. If there’s a second person to help, they can hold the other end of the halyard away from the mast and any protrusions, although it usually won’t snag.


When the joint gets to the sheave at the top of the mast, gently pull it through. You can actaully exert a fair amount of pressure as the two lines are sewn together, but yes, be a little careful as you don’t want to break the connection (if you do, you will have to go up the mast to run the new halyard).
Keep pulling until the joint comes out of the mast (or is reachable for an external halyard). Undo the tape and “stitching.”
There! You’re done, and no trip up the mast.
Related Posts


Carolyn Shearlock has lived aboard full-time for 17 years, splitting her time between a Tayana 37 monohull and a Gemini 105 catamaran. She’s cruised over 14,000 miles, from Pacific Mexico and Central America to Florida and the Bahamas, gaining firsthand experience with the joys and challenges of life on the water.
Through The Boat Galley, Carolyn has helped thousands of people explore, prepare for, and enjoy life afloat. She shares her expertise as an instructor at Cruisers University, in leading boating publications, and through her bestselling book, The Boat Galley Cookbook. She is passionate about helping others embark on their liveaboard journey—making life on the water simpler, safer, and more enjoyable.
Ted says
I have always just electrical tape to connect the two lines. I cut an angle in each line. Then I use the tape. I run the tape at lease 6 inches on both sides of the cut. I learn this from tapeing electrical wire to a fish. Oh yes I only have 3 M tape on the no cheap stuff
Carolyn Shearlock says
I’m always afraid of just using tape in case I have to tug a bit to get it through the sheave or past other things in the mast.
Steve says
Good idea on the monel wire and something else to maybe consider is using this technique if you wish to store or “hide” you halyards if you leave you boat for long periods …….. take a length of cheap nylon cord and attach it to the halyard (using this Boat Galley technique) and then “replace” the halyard with the cheap cord for the storage season to prevent UV damage etc to a good halyard while on the hard or moored somewhere.
Carolyn Shearlock says
Just be careful as some cheap line is VERY susceptible to UV damage and could break in just one summer of exposure.
Tyler Heerwagen says
How do you calculate how long your Halyard needs to be?
Carolyn Shearlock says
Assuming you know the height of the mast from your boat specs, you can take your existing halyard and see how much longer or shorter it is than twice the height of the mast. Always err on the side of getting it longer than you think you need — it’s better to pay for 5 feet extra than to not get it long enough and have to buy a second piece.
Tyler Heerwagen says
Thank you, pretty straightforward for sure, just checking!
Liah Hunter says
We have a drum of super cheap rope from the hardware store – blinds cord. That is thin enough to bowline through the cover taper on the cockpit end of the line. We can then give it a fair tug through the mast if necessary. Once we have the entire halyard on deck and the cheap 3mm stuff in the mast (and through jammers and fairleads too) we can get an exact replica cut, then we can splice on chafe protection over any vulnerable parts by looking at the damage to the old halyard. Then we repeat the whole thing in reverse, pulling the new halyard back through and putting the hardware shop rope away for the next time.