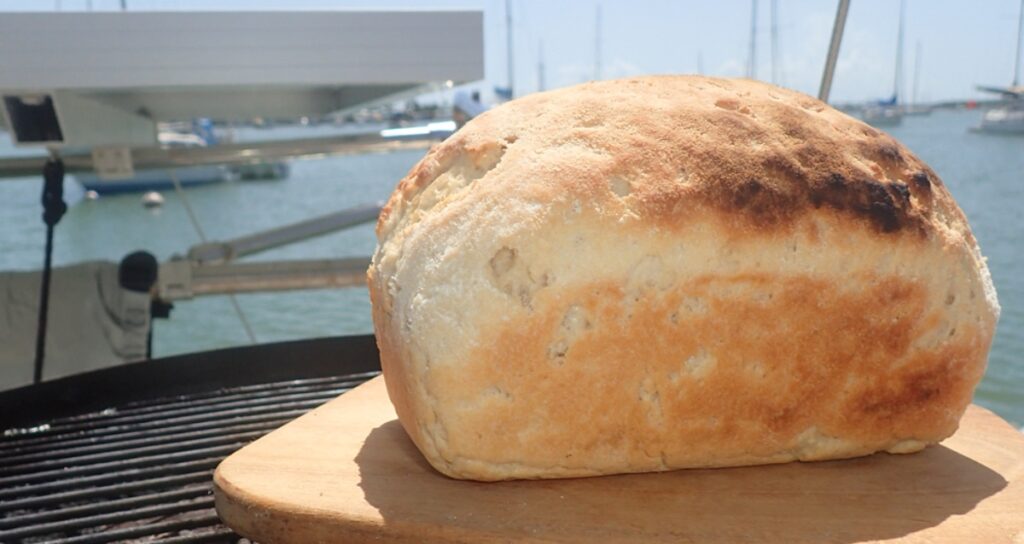
Have you tried baking yeast bread on your boat and gotten mediocre results? You’re not alone. Readers have asked me how I bake bread onboard. I’ve refined my techniques over the years and have a few tips that will give you great results every time.
Reasons Your Bread Isn’t Perfect
If a loaf doesn’t turn out as anticipated, there are three likely causes:
- The yeast is partially or totally dead. My method ensures it’s good by “proofing” it — details below. I’ve found that the more local the yeast, the better it does. If you’re in a foreign country, get what the locals buy. In most countries, it’s sold in larger “bulk” packages. I try to buy the smaller sizes. It’s also important to note that you can’t use no- or low-calorie sugar substitutes in yeast bread. Yeast needs real sugar (or molasses or honey, etc.) to live and grow.
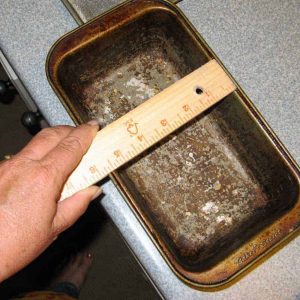
- The recipe may have been designed for a smaller pan. Many recipes specify a 4 x 8 inch pan, while the typical pan sold is 5 x 9 inches. We’ll start by measuring the pan and adjusting the recipe to fit the pan.
- Stirring and kneading too much flour into the dough makes the dough heavy, and it won’t rise as expected. The photos and instructions show how to know just the right amount of flour to add. And I’ll share techniques that will keep you from adding too much.
Basic Guidelines Before You Begin
In addition, if you haven’t made bread before, or haven’t been satisfied with your results, make your first few loaves with white flour. Then move on to using other types of flour. It’s easier to get the dough consistency correct with white, and once you know what it should feel like, it’s easier to duplicate when you try other recipes.
Above all, don’t worry too much about everything being exactly perfect. Relax! If you have good yeast, make the right size batch, and don’t add too much flour, you’ll have a nice loaf. The exact stirring and kneading techniques are not nearly as important. I show you how I do it — but everyone is a little different, so don’t think you have to exactly copy every hand motion I make. It’ll be fine, really.
Here, I’m using my very basic recipe for white bread, but I use the same technique for most yeast bread recipes.
This is a pretty long article, I know, because of all the photos and the detailed directions. Don’t be intimidated by how long it is — that’s because I have photos of every step. Hang with it — print it out — and we’ll make a really nice loaf. Easily!
Step 1: Measure Your Pan
Begin by measuring your pan. Most bread pans in the US are 5 x 9 inches (measuring the inside bottom of the pan), but many recipes are written for 4 x 8 inch pans. For a 5 x 9 pan to be “full,” you’ll need at least 1-1/2 cups of water. This may mean making a recipe and a half.
Step 2: Proof Your Yeast
Begin by “proofing” the yeast to be sure it’s good.
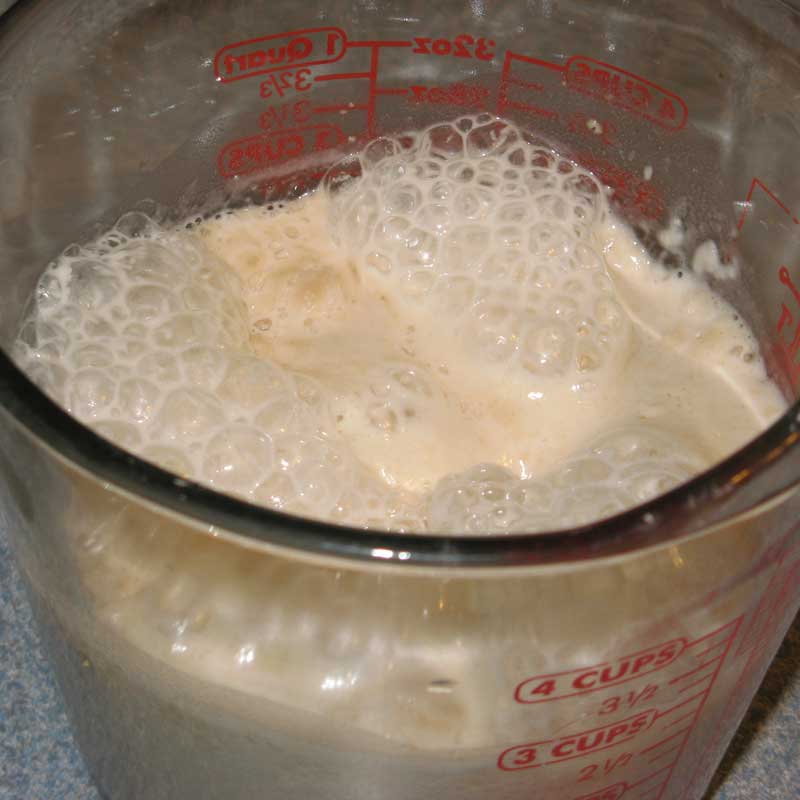
Place warm (not hot) water in a small bowl and add the yeast (at least 2 teaspoons or 1 packet per cup of water), sugar (at least an amount equal to the yeast, and don’t use a no- or low-calorie substitute; yeast needs real sugar), salt, and 1/4 cup of flour. Mix well and let sit in a warm place for 10 minutes.
At the end of 10 minutes, it should be VERY bubbly and foamy as in the photo. If it’s not, the yeast is no longer good and won’t make your bread rise. Throw it out and get new yeast before going any further. If you try to make bread with it, you’ll just be wasting all your other ingredients.
Step 3: Mix in the Right Amount of Flour
Place as much flour as you used water in a large bowl. I like to use a plastic bowl (you’ll see why below) with a rim that’s easy to grip. Add the yeast mixture, along with any oil, spices, herbs, or other ingredients.
Stir, stir and stir some more — literally, about 5 to 10 minutes worth. The dough will be thick and heavy. I tuck the bowl under my left arm (I’m right-handed) against my waist for better leverage.
This step is really important for developing the gluten in the bread so that it will rise nicely and have a soft texture.
By stirring longer, you won’t have to knead the bread nearly as long — and you won’t run the risk of adding too much flour as you knead.
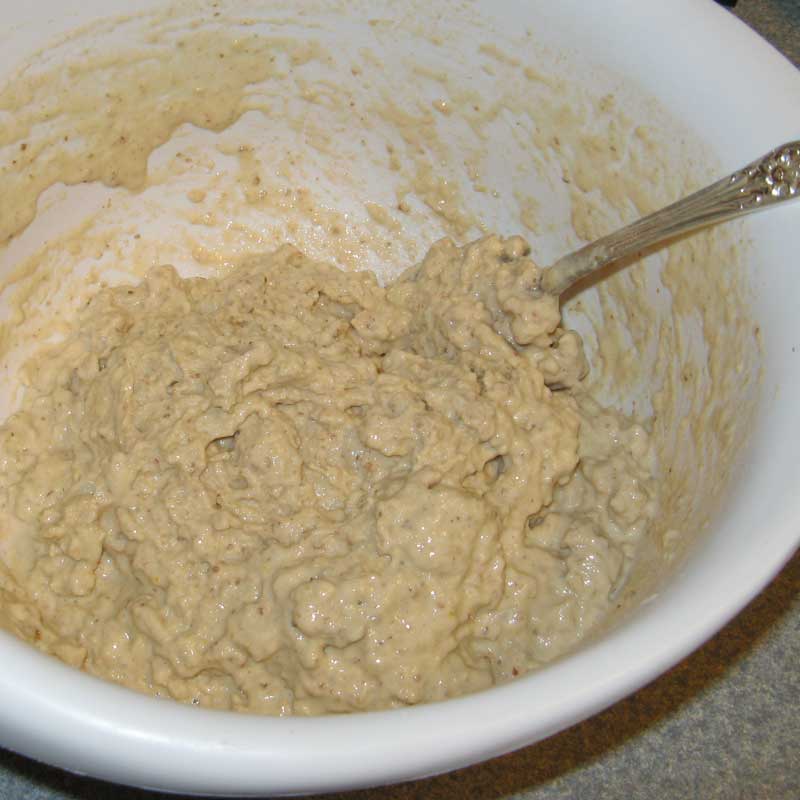
As you keep stirring, you’ll notice that the texture of the dough changes.
After 10 minutes, the dough will stretch as you pull the spoon from the dough, instead of just breaking.
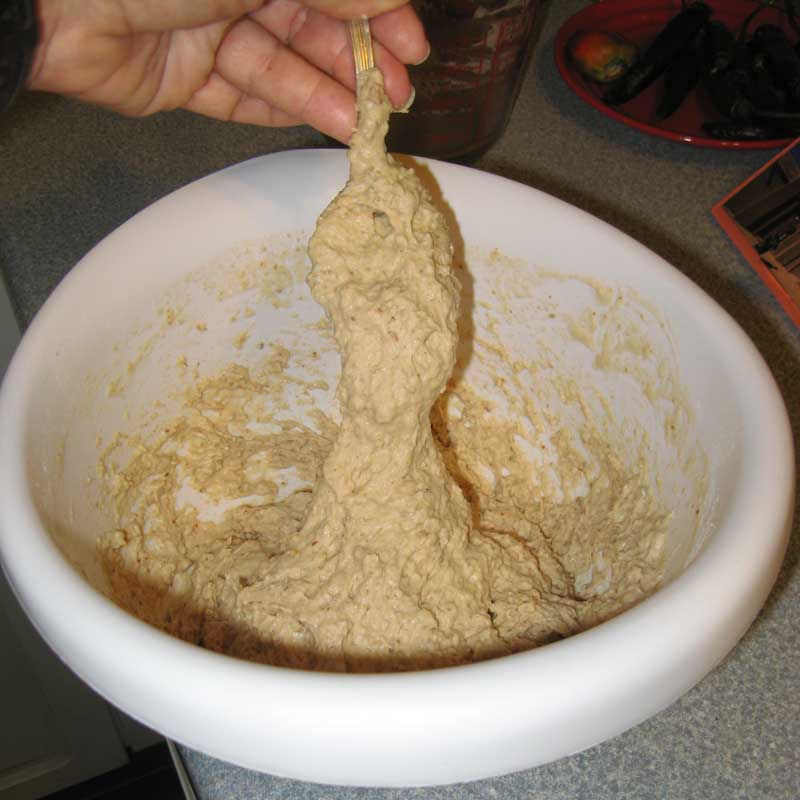
Now you can add more flour. I add just 1/4 cup at a time so that I don’t add too much.
Thoroughly mix after each addition.
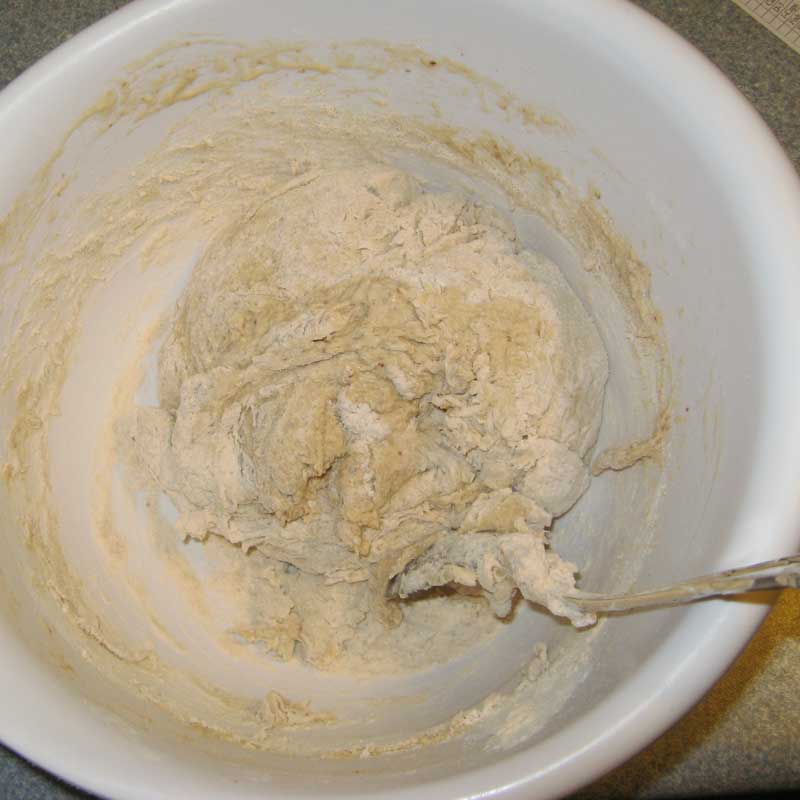
When you have added the “right” amount (regardless of what the recipe may say is the “right” amount — different flour from different manufacturers is always different, and can be different even from a different bag from the same manufacturer), the dough will come together in a ball in the center of the bowl. This is much more apparent with a plastic bowl than a glass or metal one, and it is the main reason that I prefer to use a plastic bowl to make bread.
Once this happens (there may be bits of dough still on the bowl, as in the photo), DON’T ADD MORE FLOUR.
Step 4: Knead the Dough
Now we’ll knead the bread. Normally I knead the bread right in the bowl to minimize the mess, but I couldn’t get good photos of the process that way, so I’m doing it in a jelly roll pan.
To knead in the bowl, begin by removing the ball of dough and setting it aside. Sprinkle just a few tablespoons of flour in the bowl, as I’ve done on the jelly roll pan.
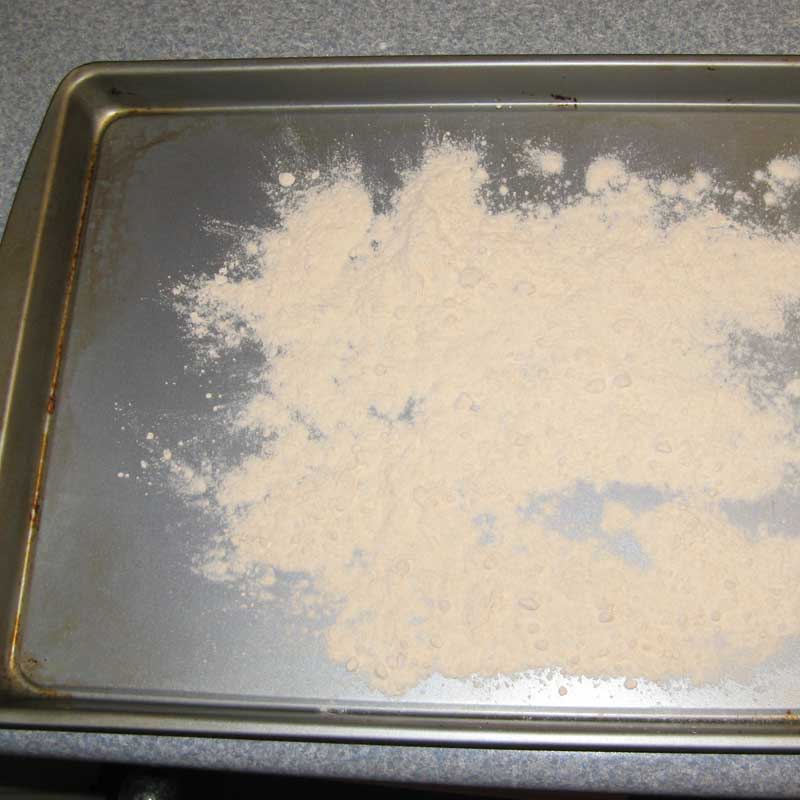
Place the ball of dough onto the flour and cover it with just a couple tablespoons more flour.
Kneading in a plastic bowl or on another non-stick surface makes it much easier to NOT add too much flour, as the dough won’t be sticking to the surface you’re kneading it on.
A plastic cutting board (one used for veggies, not meat) also works well.

Begin by pressing the heels of your hands down in the center of the dough. These pictures only show one hand since I was using the other to take photos, but I would normally use both hands, close together.

Then use your hands to pick up the dough on the side away from you.
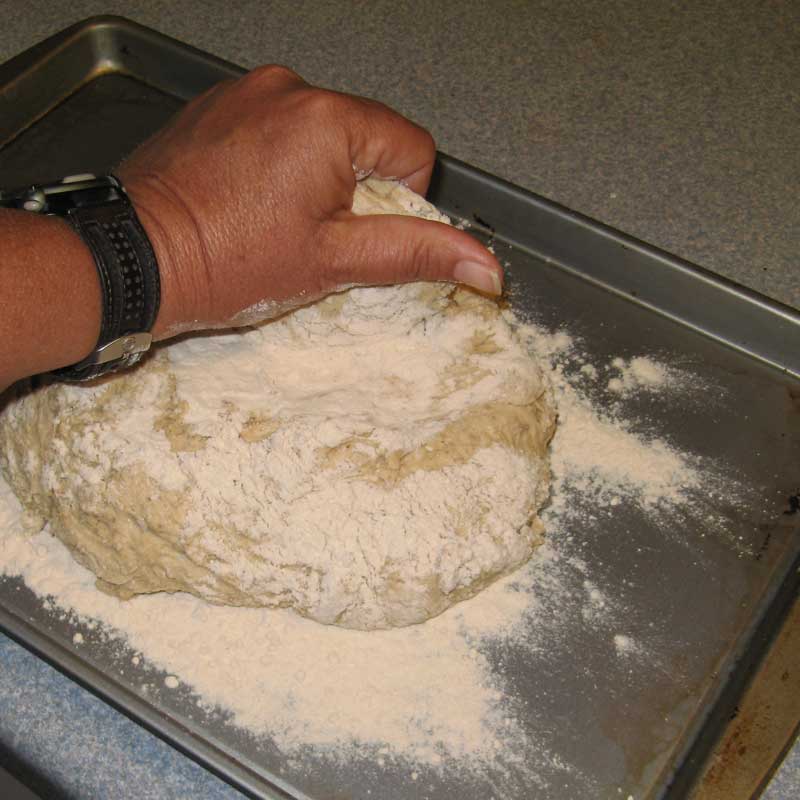
Pull the edge of the dough towards you and use your fingertips to just lightly push the edge down in about the center of the dough. Don’t worry about the exact technique!
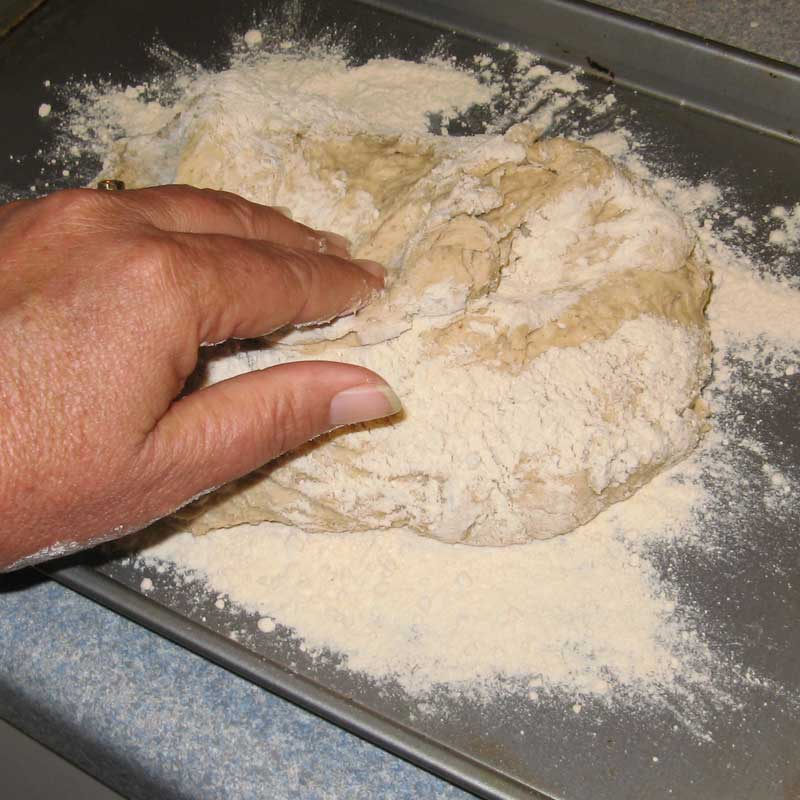
Then use the heels of your palms again to press down in the center. You don’t need to use a lot of force.
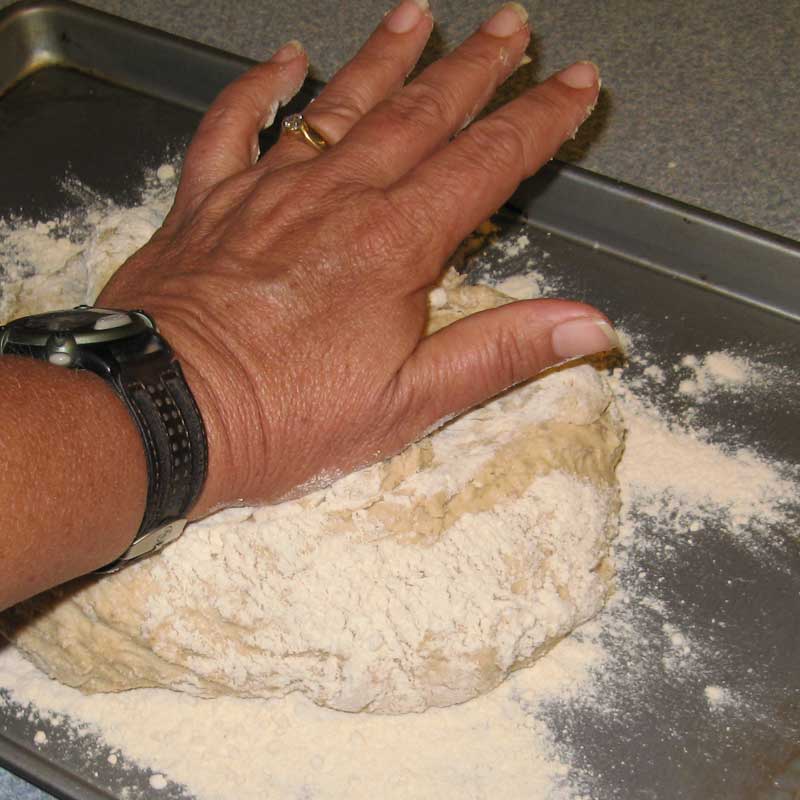
Then use your hands to pick up one side of the dough.
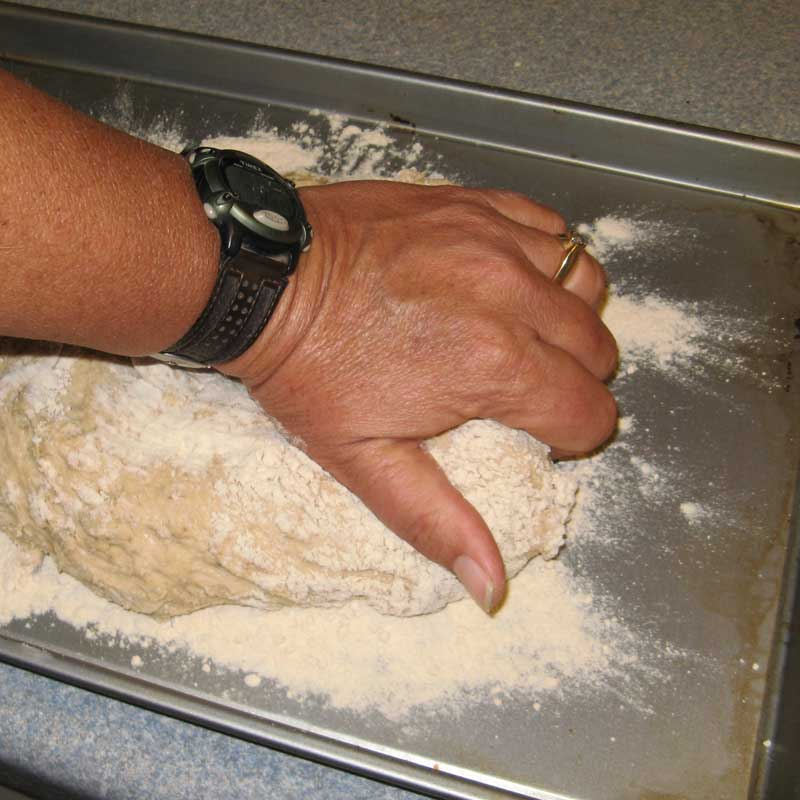
Rotate your hands (still holding the edge of the dough) to the side away from you.
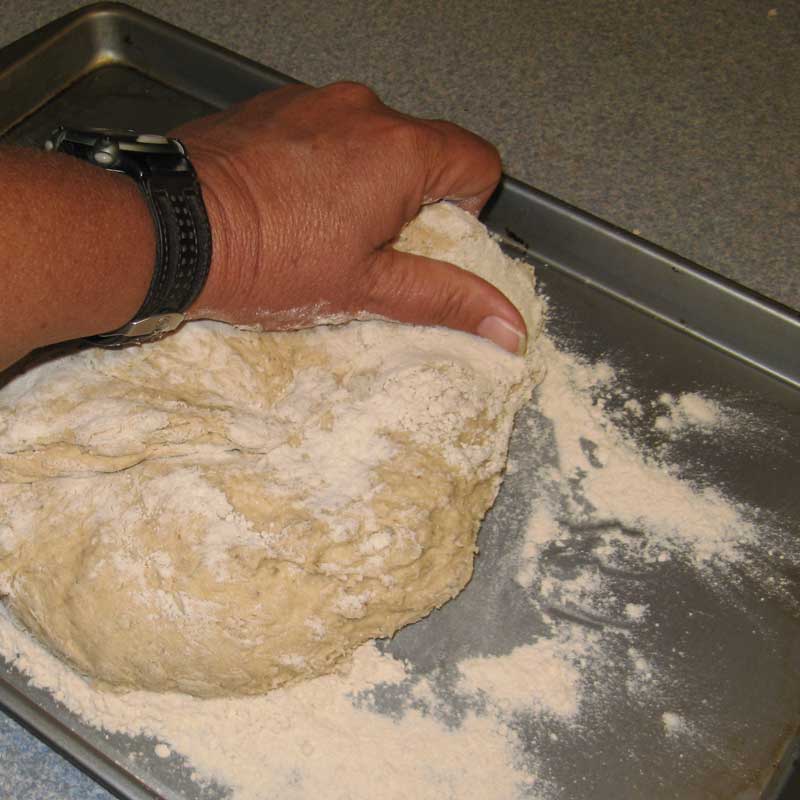
And once again, pull the edge of the dough to the center, folding it over on itself.
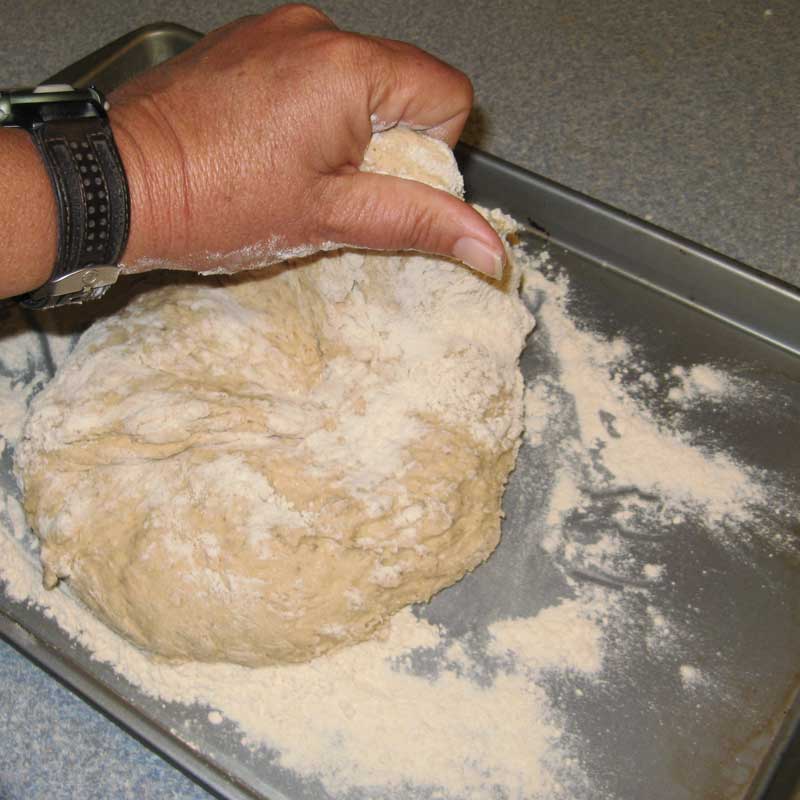
Use your fingertips to press it lightly into the dough under it.
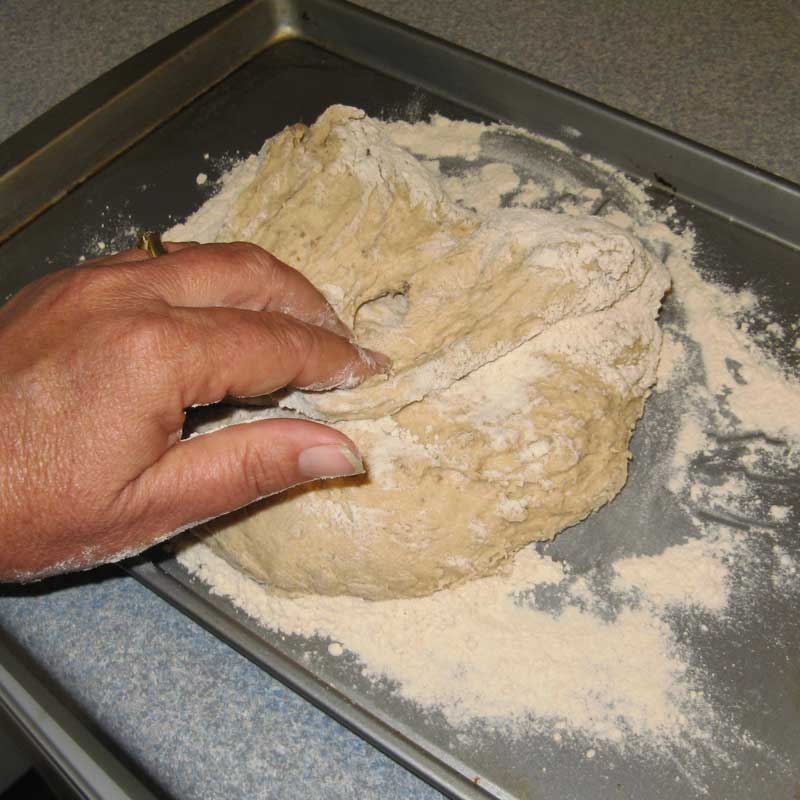
And again, press down with the heels of your hands.
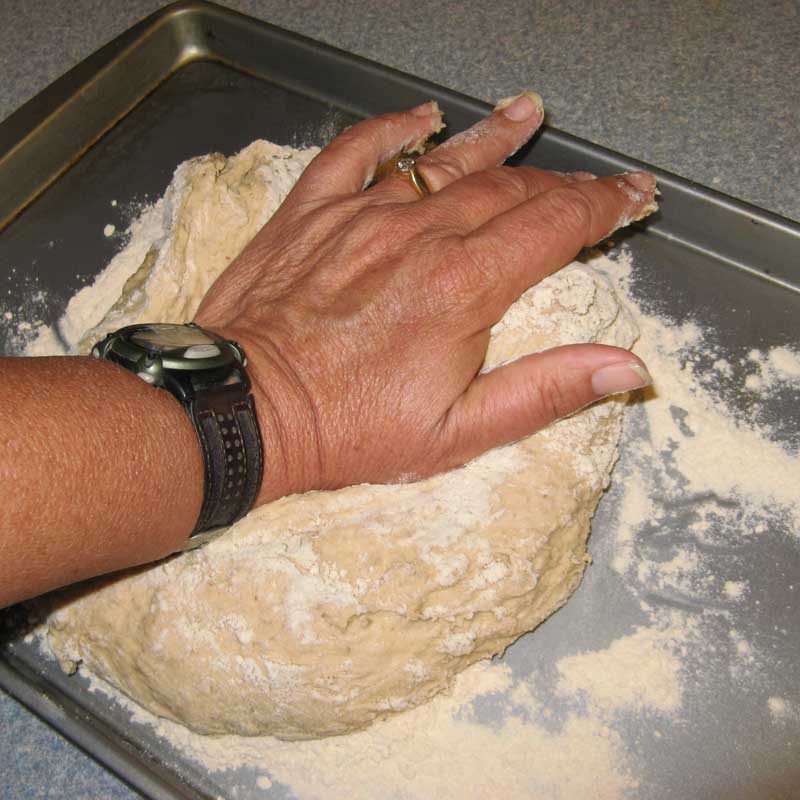
And continue to rotate, fold the dough over, and press it down with the heels of your hands.
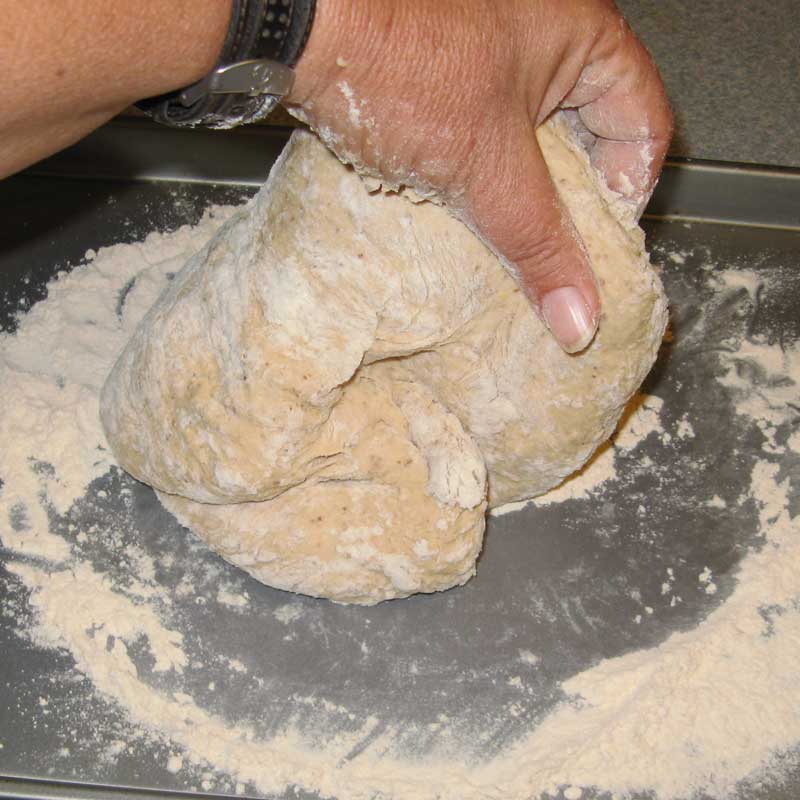
In just a few minutes, you’ll notice that the dough is all nice and smooth, not tearing apart and your hands aren’t really sticking to it.
There may still be a little stickiness, and that’s okay — it’s better that it’s a little sticky than to knead too much flour in and have dry, heavy bread that won’t rise.
The important part is that it becomes smooth and elastic — knead longer if you need to, but don’t add much more flour!
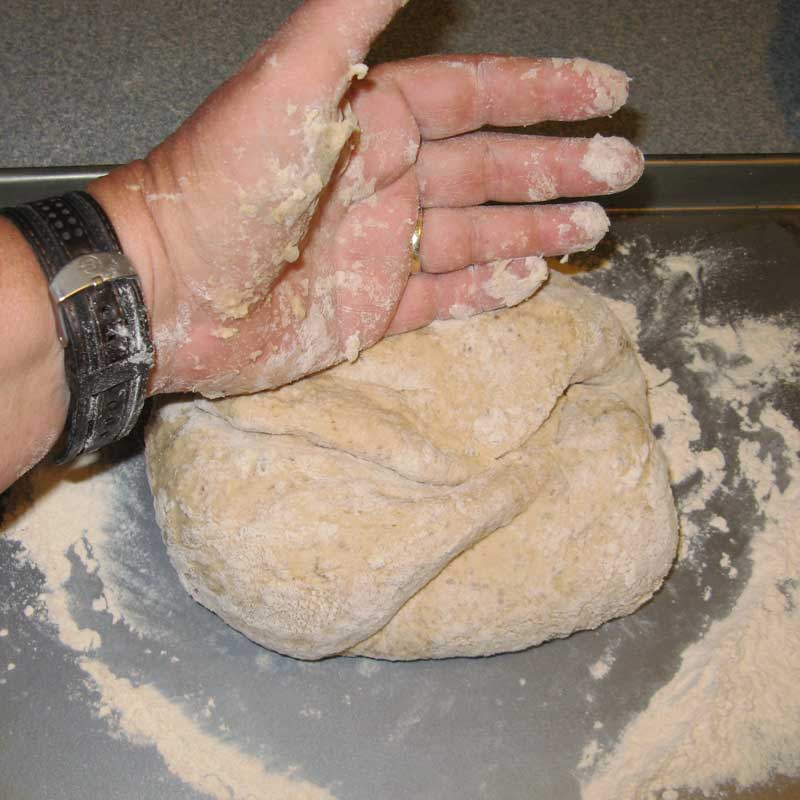
The dough should feel soft and easy to stick a finger into — if it’s hard to poke your finger in, there’s too much flour. Remember for next time!

Step 5: Let the Dough Rise
Wipe your bowl out, and put a couple of tablespoons of oil (canola, corn, or vegetable are best — olive oil has a distinctive taste) in the bottom of the bowl. Tilt the bowl so that the bottom is lightly covered with oil.

Put the dough into the bowl, smooth side down.
Use your hand to twist the ball around so that the whole “bottom side” gets covered with oil.
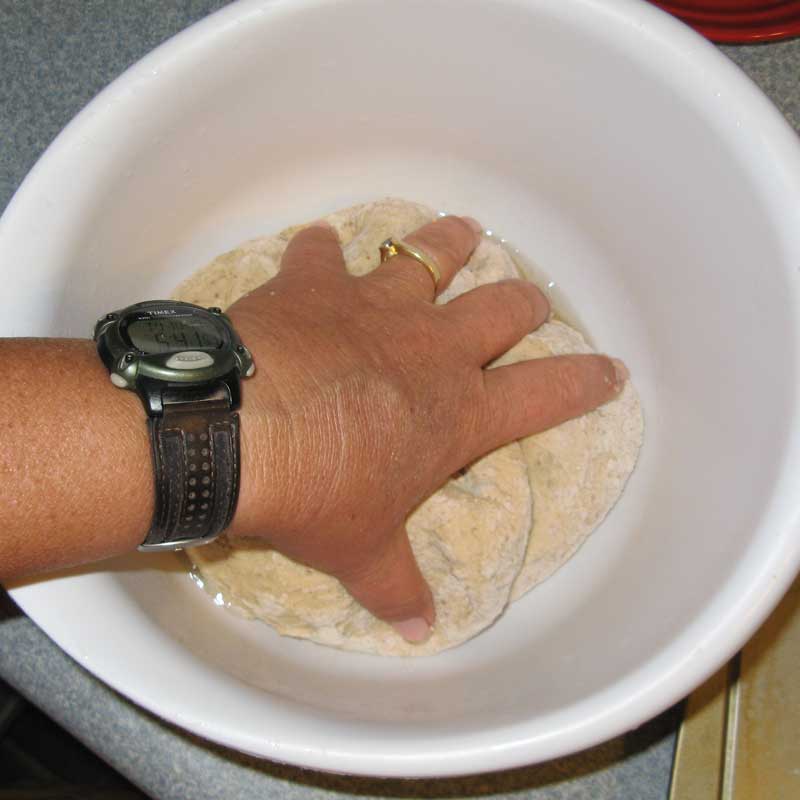
Then flip the dough over so that the oiled side is up. If you don’t do this, the top of the dough will dry as it rises and you’ll have hard little bits in your finished loaf.
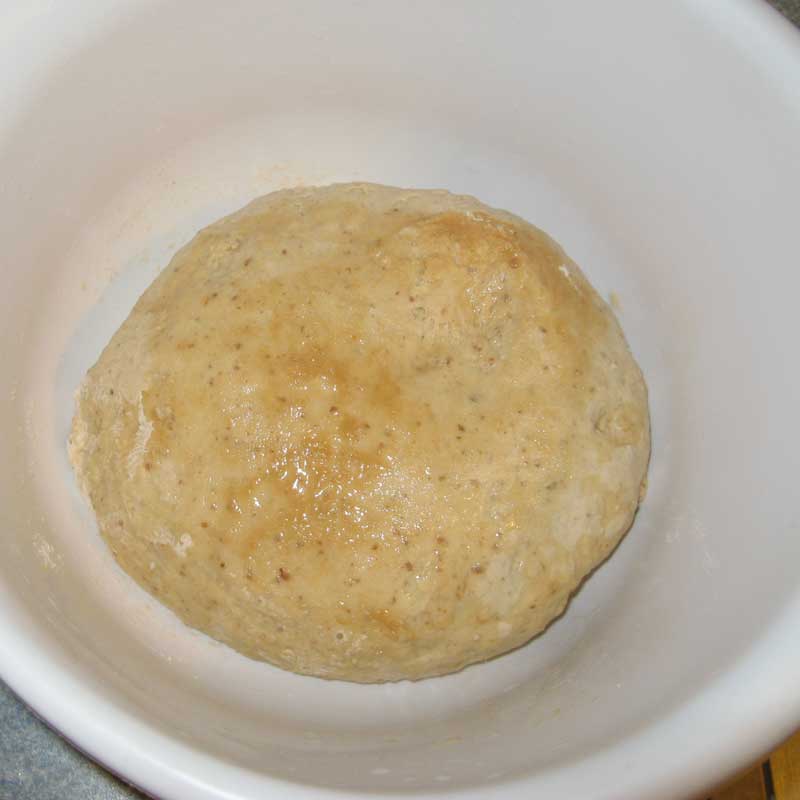
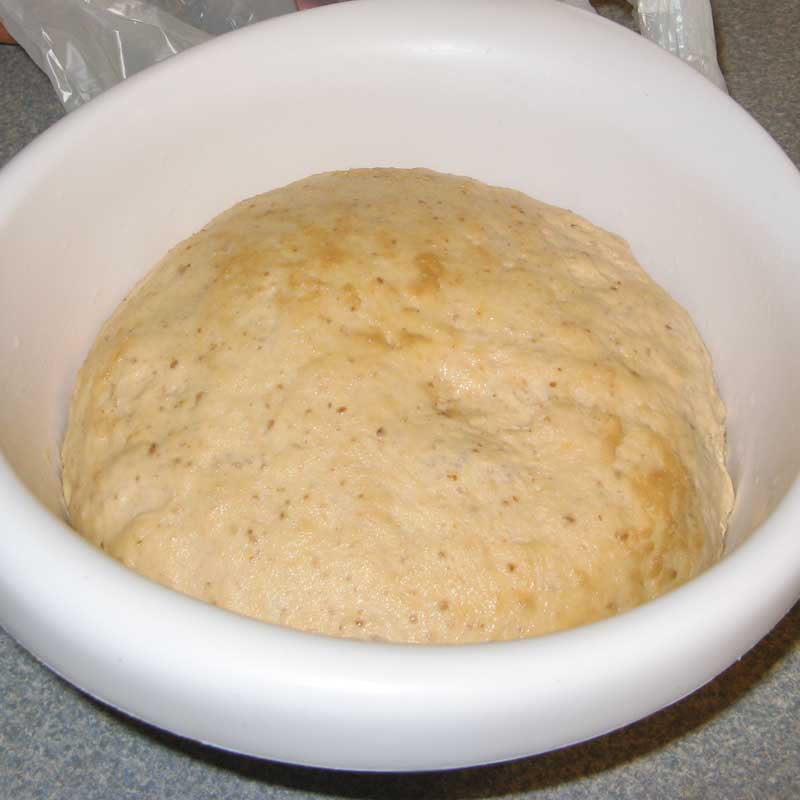
Cover the bowl — I use a plastic grocery bag — and let it sit in a warm place to rise until doubled in size.
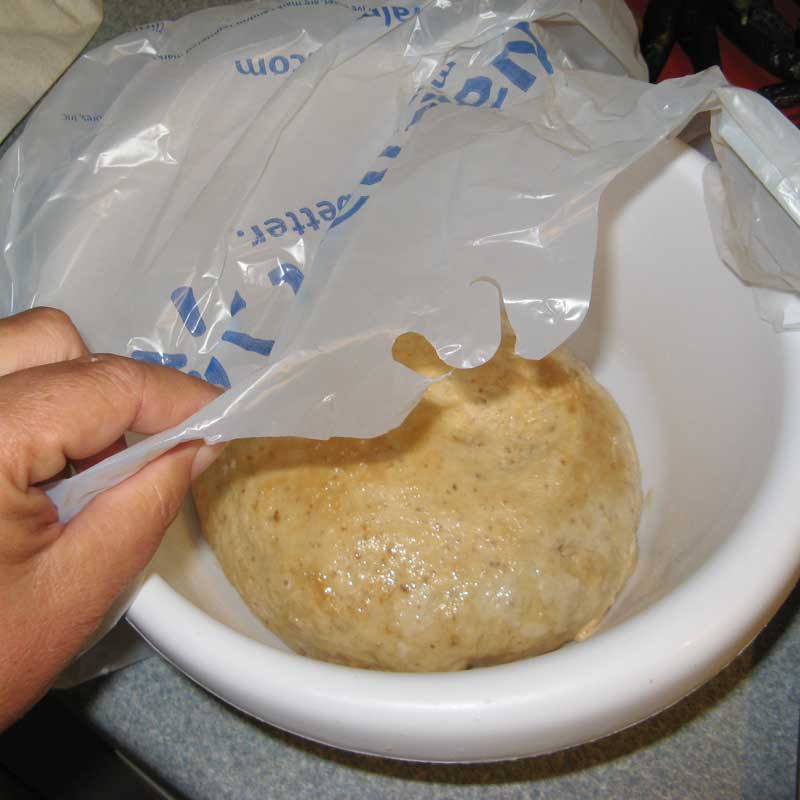
The exact amount of time will vary by how warm it is — I’ve had bread rise in as little as 15 minutes in very hot climates, and as slowly as 2+ hours when it’s chilly.
Just eyeball the “doubled” part — and don’t worry if it gets way bigger and even caves in on itself. It’ll be fine!
Step 6: Knead Again
Don’t add any more flour to your kneading surface unless it’s totally gone… and then, only add a few tablespoons.
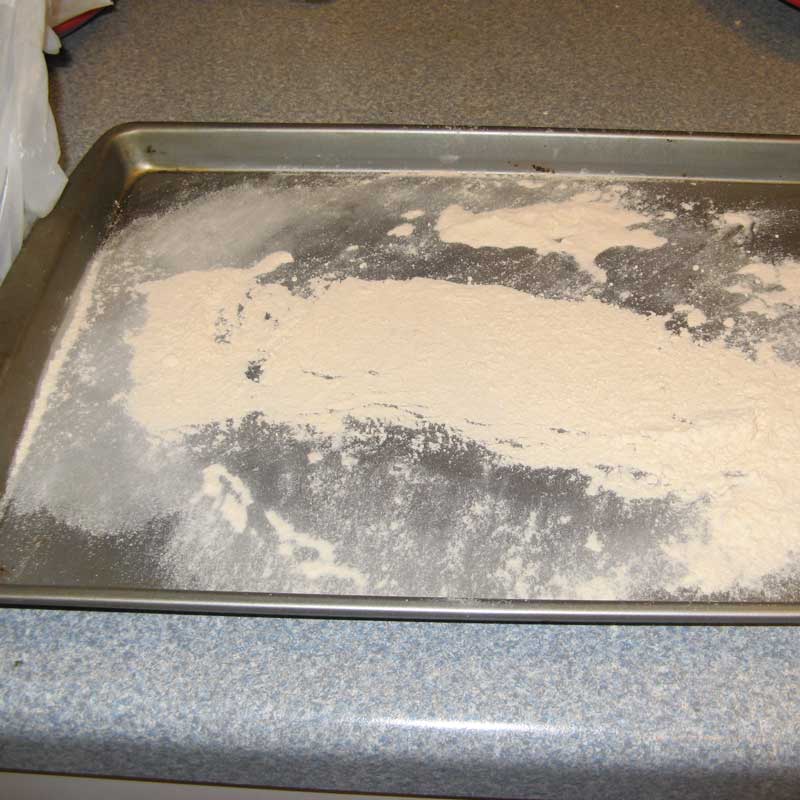
Tip the dough out of the bowl onto the kneading surface (or just knead it in the bowl) and knead it just like you did before. I don’t put any flour over the top.
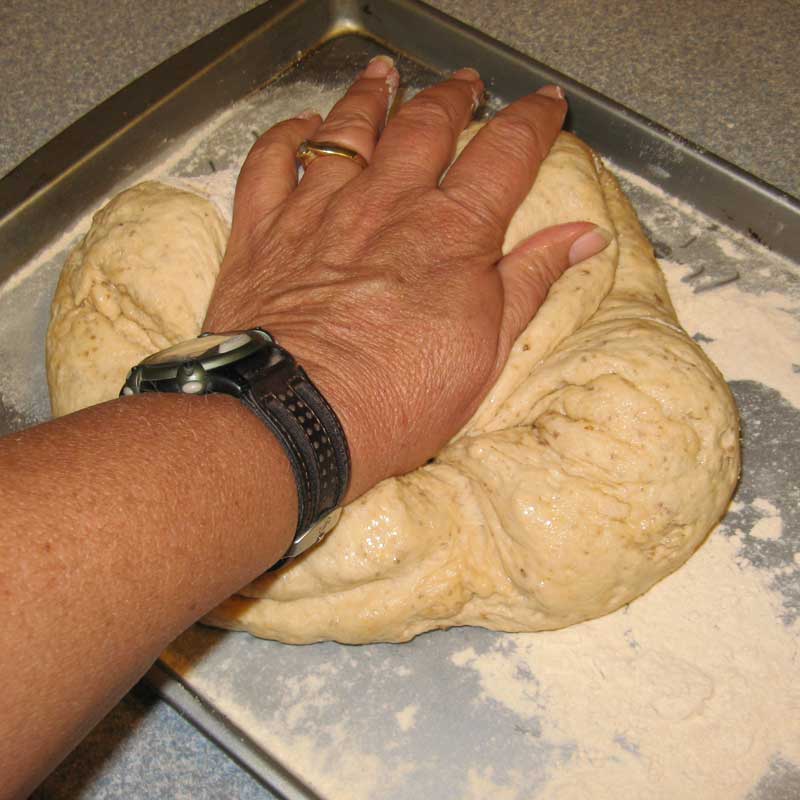
You don’t need to do it very long — maybe only 10 or 12 times.

The dough will be very smooth and elastic, and your hands will hardly have any dough on them.
Step 7: Knead Again, Let Dough Rise, and Bake
Put a tiny bit more oil in the bowl and put the dough back in the bowl to rise. Use the same procedure as before to oil the dough and cover the bowl.
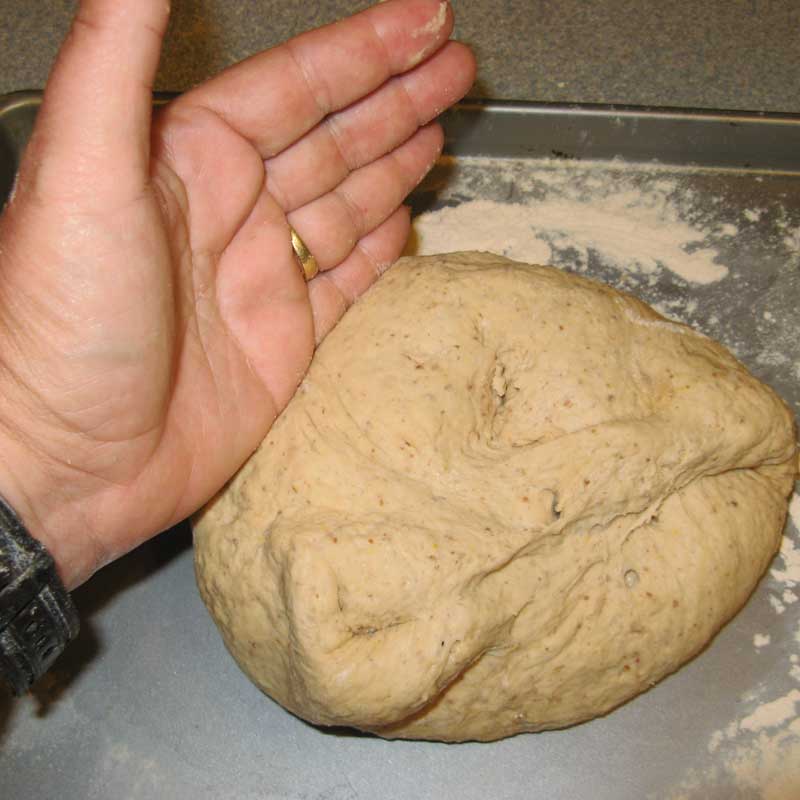
When the dough has doubled again, turn it out onto a work surface to make it into a loaf shape.
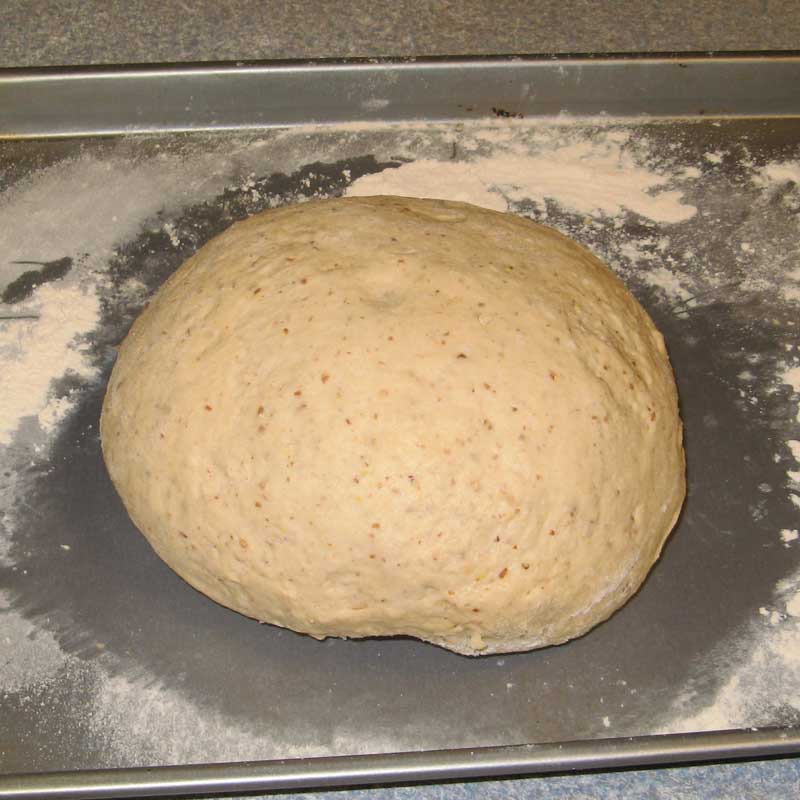
Gently fold one side of the dough into the center.

Then fold the other side, so you have a long roll.
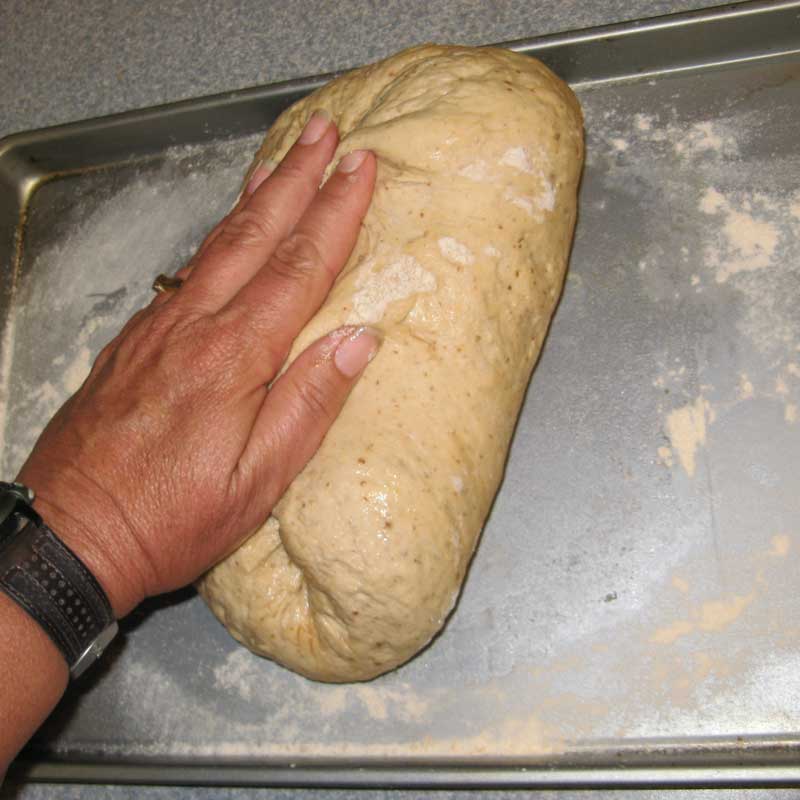
Gently pick the loaf up and turn it “right side up.”

Place it in an oiled pan. Again, cover the pan with a plastic grocery bag (or whatever you were using) and place it in a warm place to rise.
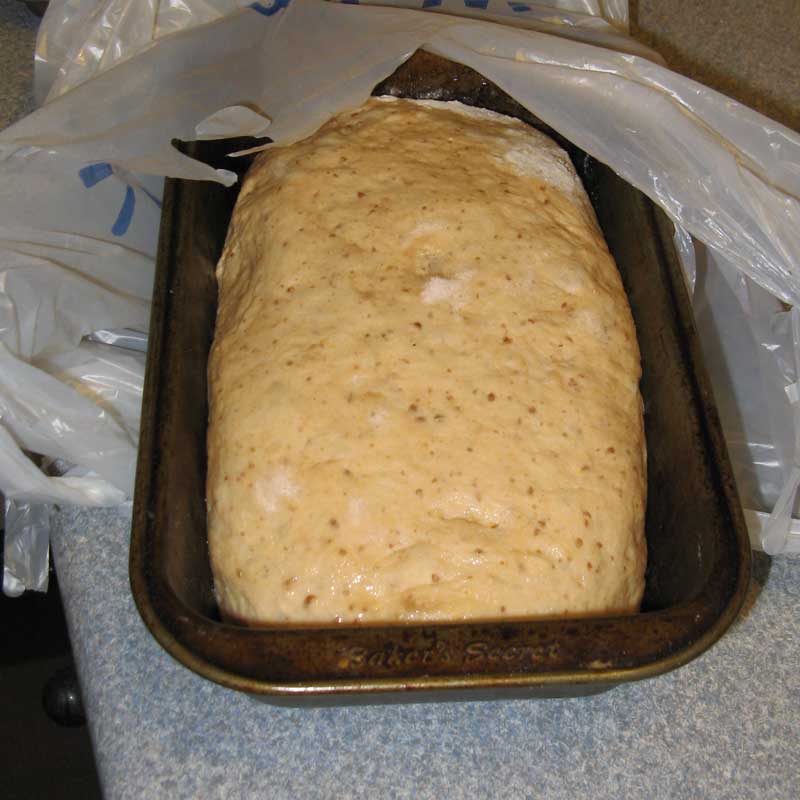
When the loaf is about two-thirds as large as you want the finished loaf to be, start preheating the oven.
When the oven is up to temperature, place the loaf in the oven and bake it according to recipe directions.
It will rise a bit more in the oven, making a nice full loaf.
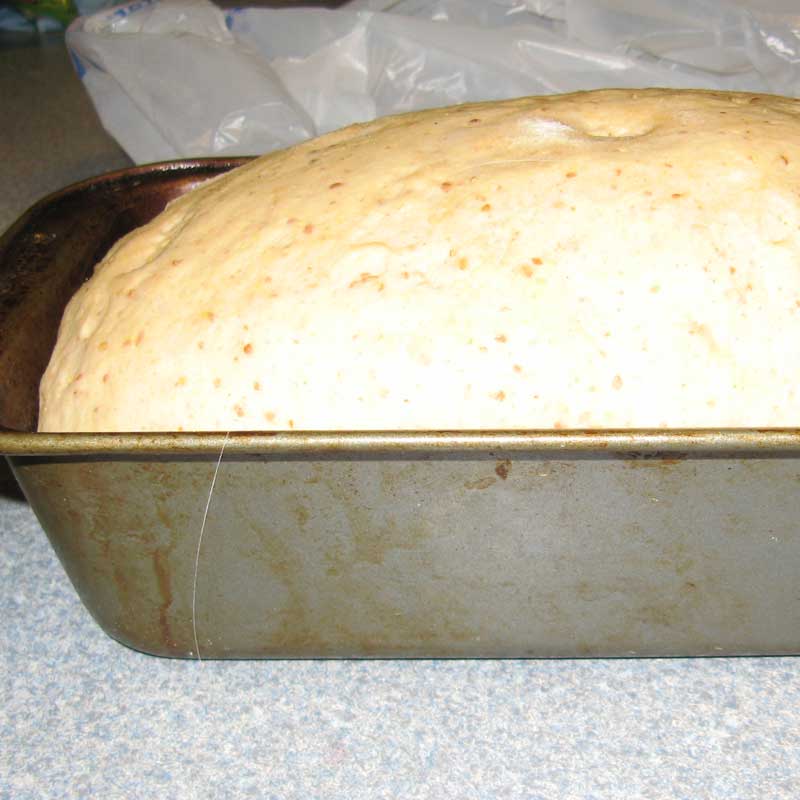
Step 8: Test for Doneness
There are two ways to test for doneness:
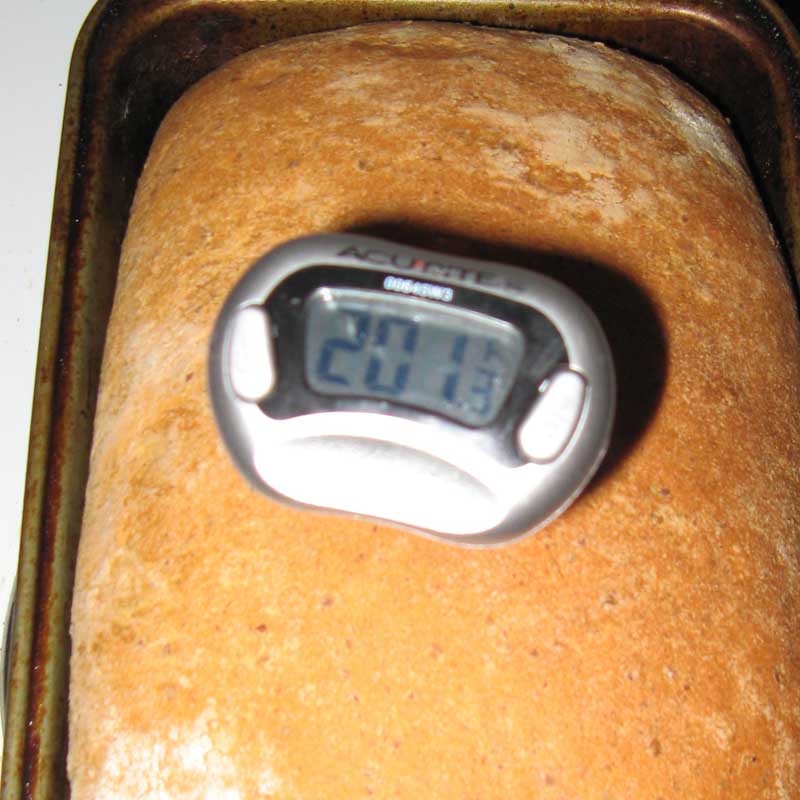
- If you have an instant-read thermometer, stick it in the center of the loaf. It should read between 190 and 200 degrees F. when done.
- Otherwise, lightly tap on the loaf with your knuckles. It will sound hollow when done.
Remove the loaf from the oven, and set it on a heat-proof surface. I just put it on the stovetop.
Use a knife or spatula (pancake turner) to loosen the sides of the loaf.
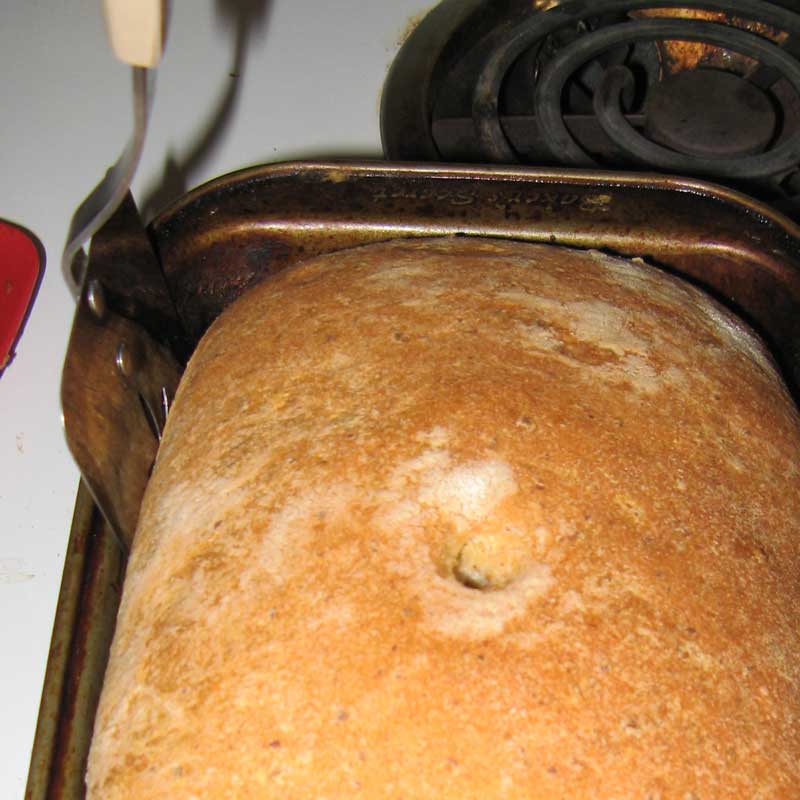
Then turn the loaf out on its side on a cooling rack or other heat-resistant surface. Leave it on its side for at least 5 minutes — if you stand it upright immediately, it’s likely that it will sort of collapse to one side as the sides are soft until they cool a bit.
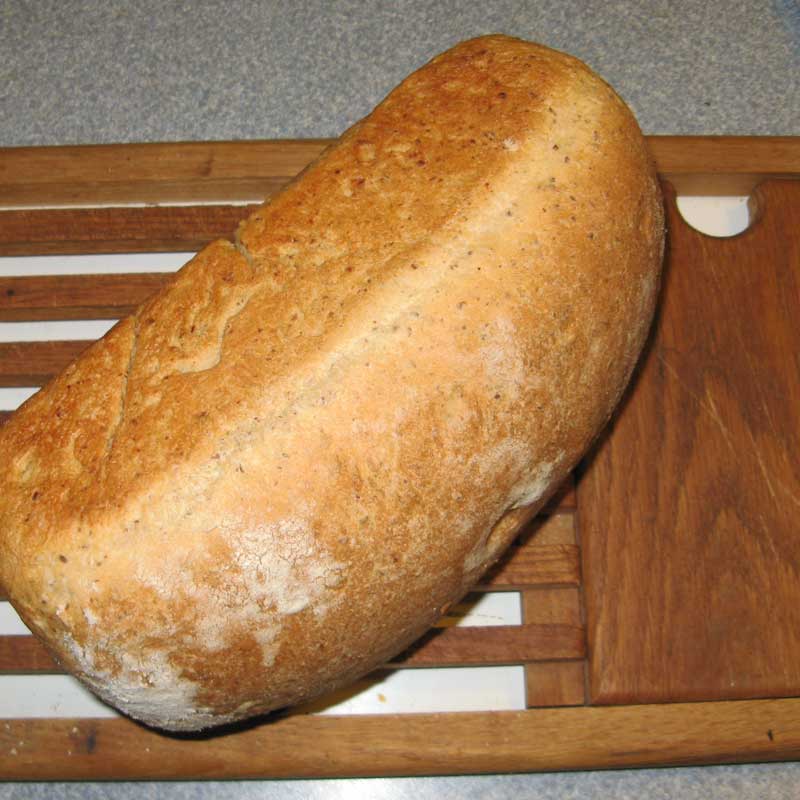
Once it has cooled slightly, you can stand it upright and begin slicing it.
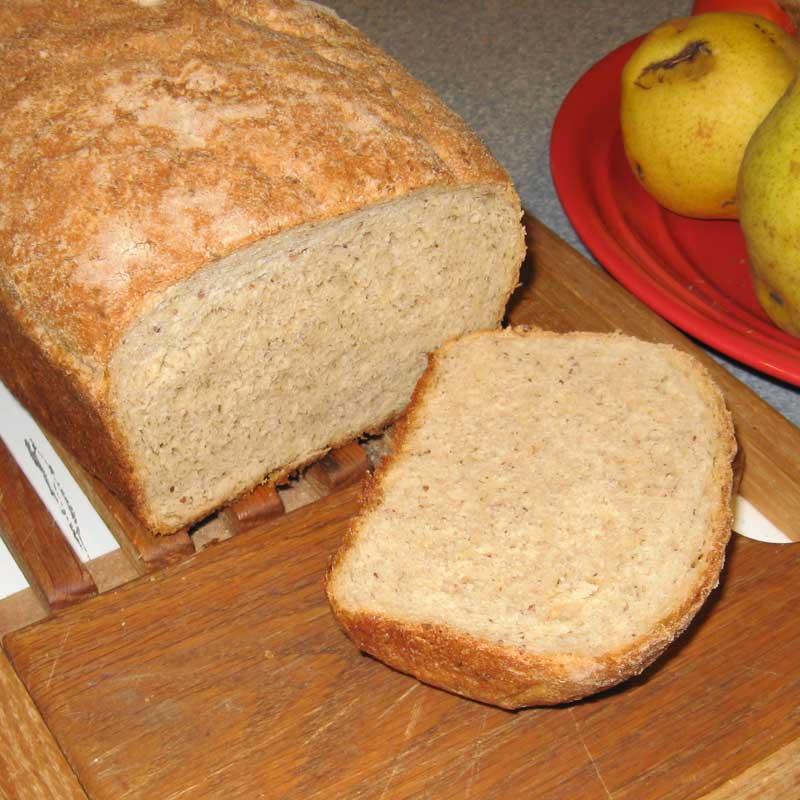
Use a serrated knife or a bread knife for the best results, and with hot bread, use a VERY gentle touch so the slices don’t smush down.
Cutting a cool loaf is easier… but can you really wait?
Additional Tips
Many cruisers are making delicious bread on their boats. Rick G. suggests fermenting the bread below 80° F/27° C to get more flavor. If it’s warmer, he reduces the yeast to slow things down.
Ben is a serious bread baker and has several tips for bakers who wish to progress beyond being newbies. Different yeasts need different techniques. Cake yeast that gets used in commercial bakeries absolutely needs that first step of yeast + water + sugar + flour + salt. Dry yeasts (which is what most people use at home) get some sugar added in the manufacturing process and can get away with just yeast + water. It will foam, but not as foamy as in the picture. Other forms of yeast can be added straight to the flour, but he prefers to let it warm up in the water first to make sure the yeast has woken up and has a faster rise.
With some experience and experimentation, it gets easier to identify mistakes by looking at the finished product. If a loaf collapses, it means you let it rise too long in the pan, or that it wasn’t kneaded long enough. If the texture of the crumb is coarser (looks like a sponge with bigger holes) and is kinda rubbery and gummy, there was too much water. The finished product should have a completely smooth texture. A quick Google search should turn up a list of flaws and fixes.
While not strictly needed, an egg wash (mix of egg and a splash of water) brushed over the dough will help the crust get a shiny brown finish. That’s especially important for French breads, which don’t have any added sugar to help them brown. You may find that the internal temperature of the loaf will reach 200 degrees before it browns. If you allow it to continue cooking, you will notice that the temperature will stay at 200 degrees while the crust continues to brown.
You may also notice that the crust might develop deep random cracks. You can control those cracks by cutting slits into the surface of the dough before cooking or before the final rise (plus they make a more attractive loaf).
Sometimes your dough won’t be cooperative in shaping into a loaf, such as rolling into a long French bread loaf, or flattening out into a pizza round. Let the dough sit for 5-10 minutes, and the gluten will relax, making it easier to shape.”
Try It For Yourself
As Ben says, experience and experimentation can improve your results when baking on a boat. I’ve compiled my best tips into The Boat Galley Cookbook. Benefit from my mistakes when you’re honing your techniques.
I hope you’ll try baking yeast bread on your boat. The results are delicious, and it’s another skill you’ll be proud to develop.


Carolyn Shearlock has lived aboard full-time for 17 years, splitting her time between a Tayana 37 monohull and a Gemini 105 catamaran. She’s cruised over 14,000 miles, from Pacific Mexico and Central America to Florida and the Bahamas, gaining firsthand experience with the joys and challenges of life on the water.
Through The Boat Galley, Carolyn has helped thousands of people explore, prepare for, and enjoy life afloat. She shares her expertise as an instructor at Cruisers University, in leading boating publications, and through her bestselling book, The Boat Galley Cookbook. She is passionate about helping others embark on their liveaboard journey—making life on the water simpler, safer, and more enjoyable.
Leave a Reply