
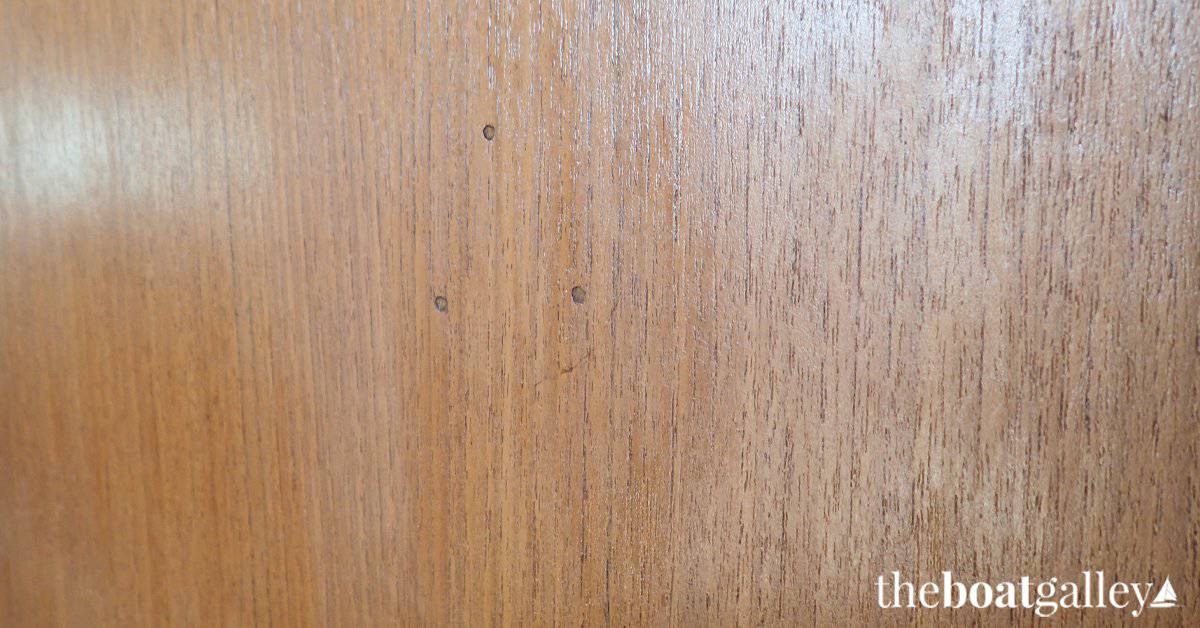
Before I began our boat interior renovation, I knew there were a few screw holes in the teak, left from various things that the prior owners had hung on the wall. But I had no idea how many holes there could be on a 20-year-old boat! I stopped counting at 50 before moving on to consider how I could repair them.
Fill Holes Before or After Finishing?
One question that comes up is whether it’s better to fill any holes before or after finishing the teak. Before sounded better to me, so that the repair would hopefully blend in as the finish was applied over it. However, it seemed impractical to clean the teak, fill the holes several times due to likely shrinkage, and to spread the finish within 24 hours of cleaning the teak. And cleaning it again after the repairs seemed likely to damage the repair.
So after the finish, it was going to be.
The First Method I Tried
first tried using a bit of Minwax Wood Putty (testing in a pretty hidden spot), but discovered that none of the colors matched my teak at all, and any mixture of colors that I tried was also not a match. You can find wood putty in a variety of shades on Amazon, but trying and failing to make a match gets expensive quickly.
If you’re planning to stain your teak, you can buy stainable wood filler (Amazon) as well. But this won’t work if you’re trying to match the natural teak appearance.
A Pro Recommendation
I went to the local wood shop (Buck’s Woodworking just off Overseas Highway in Marathon) and asked the owner how to do it. His recommendation was to get teak sawdust, mix it with Elmer’s Wood Glue (Amazon) and fill the holes. And he gave me a small bag of teak sawdust from their custom fabrication area.
One point that he was very clear on: do not use epoxy as it will cure black, not teak-colored. The Elmer’s Wood Glue will not affect the teak color of the sawdust and it cleans up with water.
Important: this technique is for filling small holes, not large ones. Use bungs (Amazon) for 1/4″ holes or larger. You can buy them in packs of various sizes. If the hole is in a prominent spot, you may get better results by drilling to make it larger and filling it with a teak plug, cut flush.
Also, realize that you’ll be able to see the repair. It will just be a lot less noticeable. People who have come on our boat did not notice how many screw holes there had been until I pointed it out. The only way to totally “repair” them is to replace the wood — and that’s not a realistic option for most of us!
How-To Do It
Repairing the screw holes wasn’t a hard job, but I did learn several important details as I did it.
Supplies needed:
- Teak sawdust
- Elmer’s Wood Glue
- Very small container to mix in (I used an applesauce cup pulled from the trash and rinsed out)
- Disposable tool to mix sawdust and glue with (I used a kabob skewer; a toothpick or tongue depressor would work)
- Rags or paper towels
- Water
Mix a very small quantity of sawdust and wood glue at any one time, as the mixture begins drying fairly quickly. I found that about a tablespoon of sawdust was a good amount.
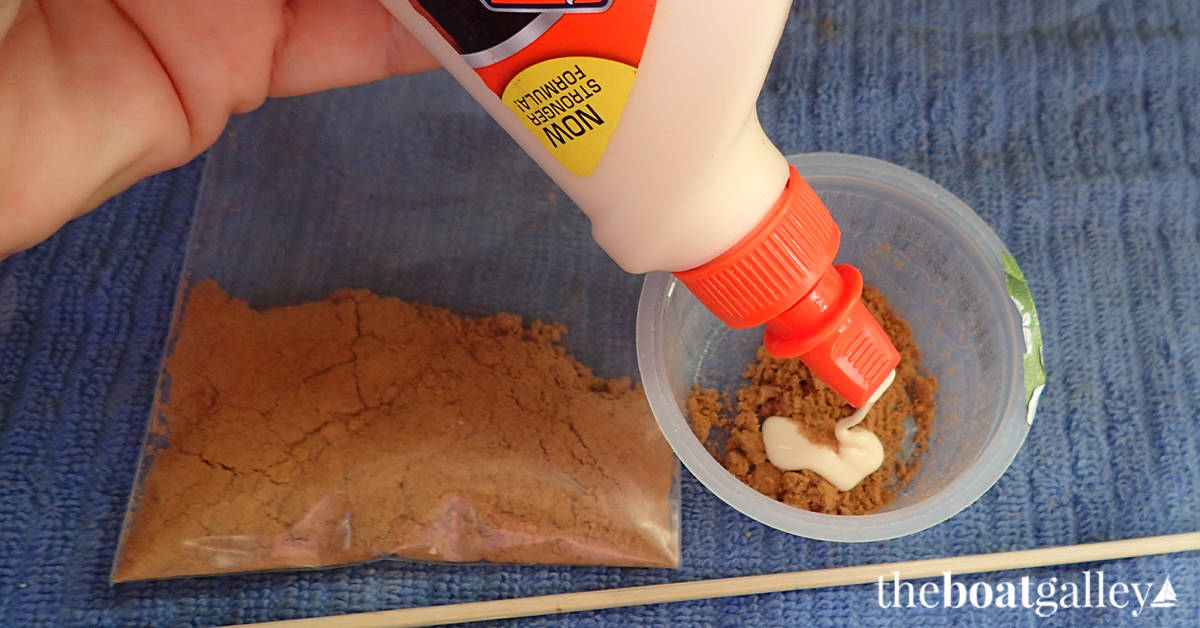
Start with about a quarter as much wood glue as teak sawdust (by volume). Mix well and add more glue or sawdust until the mix is about the consistency of peanut butter. This is not an exact science.

The best tool for applying the sawdust mix is your finger. Push the mix in as far as you can — go over it a number of times to get air bubbles out.
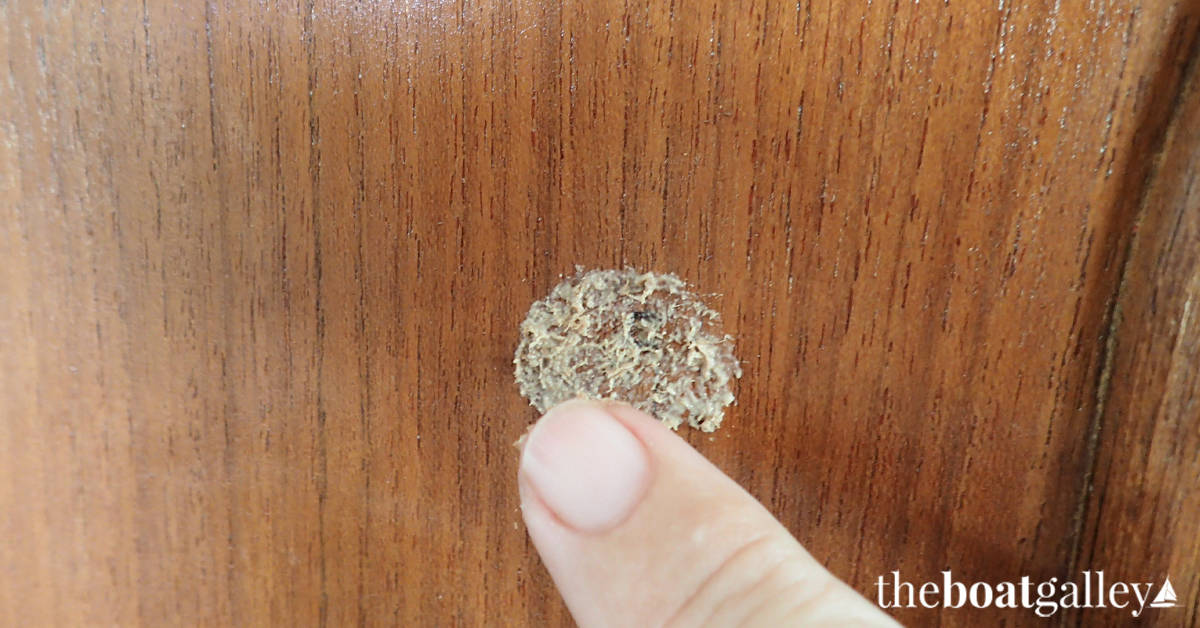
When the mix starts getting too sticky to easily fill the holes, it’s time to discard it and mix up a new batch.
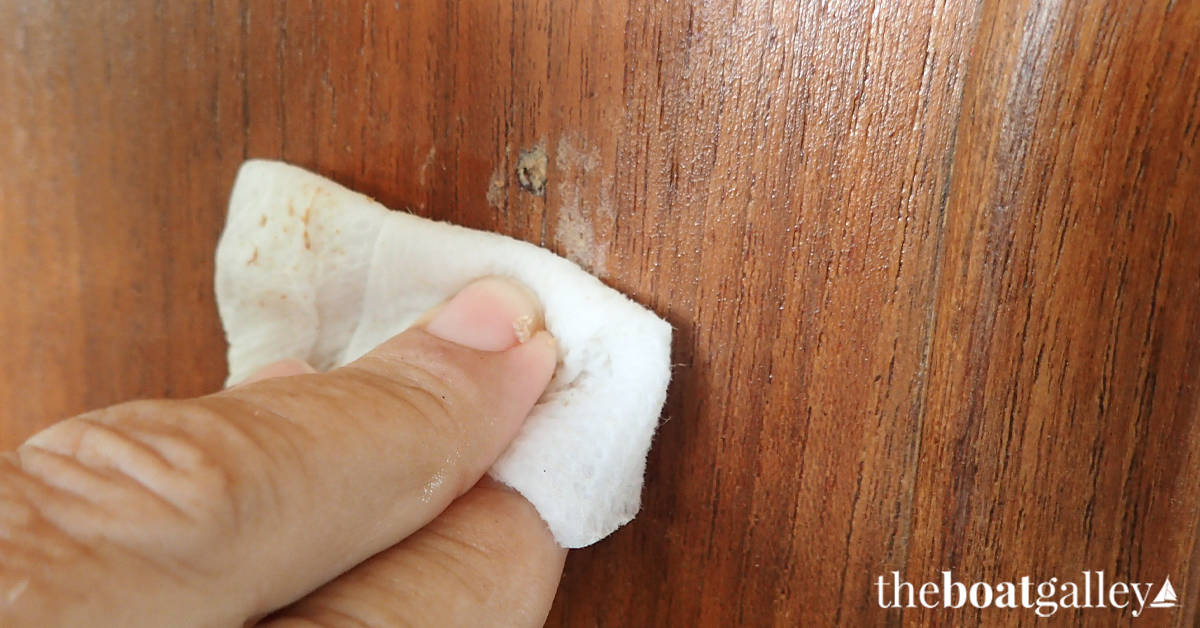
Before the fill has a chance to dry (which happens quickly), use a damp rag to thoroughly clean the excess off. Take care not to wash the fill out of the hole.
As it dries, the fill will shrink. Due to the shrinkage, I had to fill the holes 4 or 5 times. Let it dry several hours to overnight between layers.
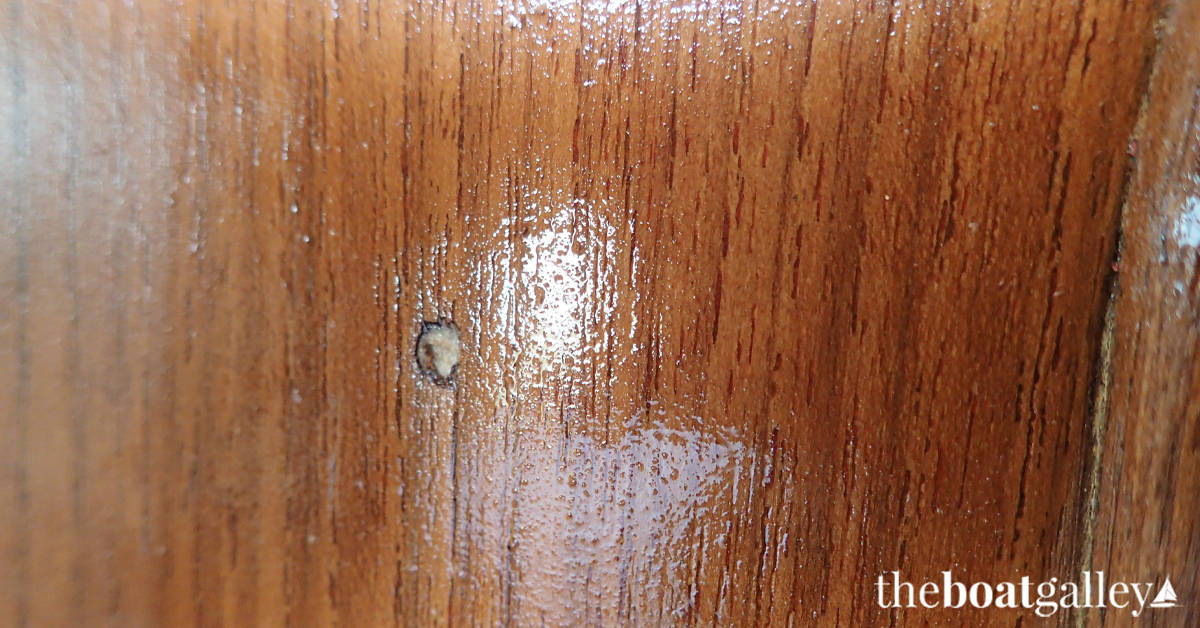
When it is even with the wood surface, apply a layer or two of Teak Guard over the repair and feather it into the surrounding area.
This was probably the easiest part of our interior renovation and really made a difference in the overall finished appearance.
Check out the links below to learn more about our complete project. We were very happy with the results, You might be too.
You Might Also Be Wondering About . . .


Carolyn Shearlock has lived aboard full-time for 17 years, splitting her time between a Tayana 37 monohull and a Gemini 105 catamaran. She’s cruised over 14,000 miles, from Pacific Mexico and Central America to Florida and the Bahamas, gaining firsthand experience with the joys and challenges of life on the water.
Through The Boat Galley, Carolyn has helped thousands of people explore, prepare for, and enjoy life afloat. She shares her expertise as an instructor at Cruisers University, in leading boating publications, and through her bestselling book, The Boat Galley Cookbook. She is passionate about helping others embark on their liveaboard journey—making life on the water simpler, safer, and more enjoyable.
Carolyn Shearlock says
I got mine at a local wood shop that sells teak and also makes custom teak items. If you can find a shop near you that does the same, you can probably ask them for a bit (they gave it to me for free from the vacuum system that they use with the sander and saw).