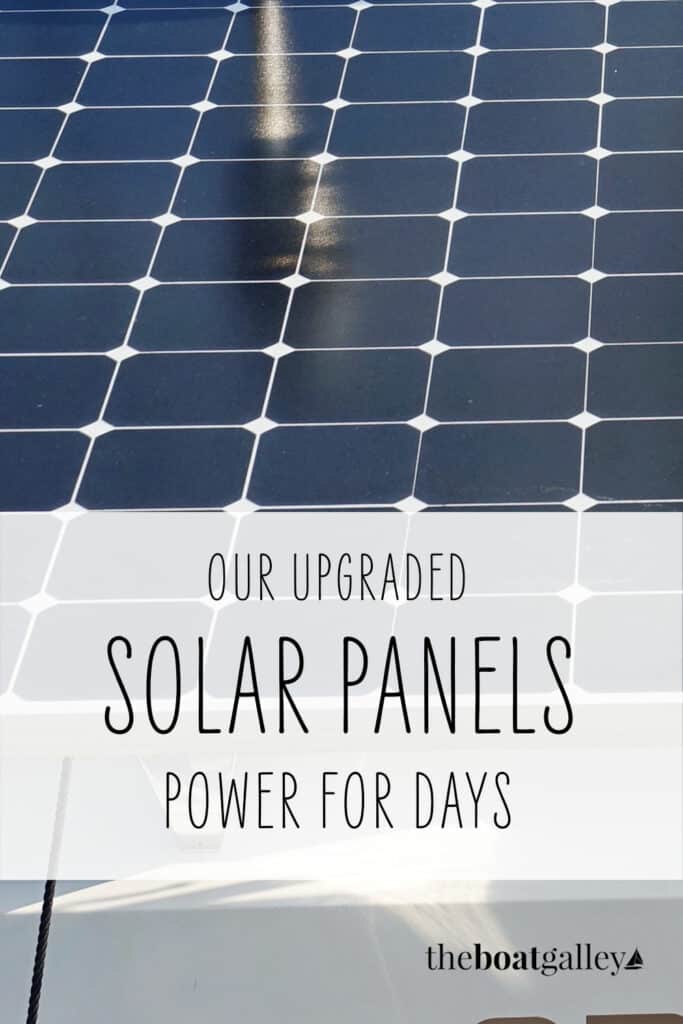
Our second solar panel arrived and we installed it! When I posted about it on Instagram, I got several questions about what we’d gone with and the parts we needed.
When we started the project, we planned to use a 225-watt rigid panel. As we started to build the mount for it, we discovered that with the curve to our hard dodger area, we’d have to raise the panel to the point where it would be in the way of our boom. Back to the drawing board.
After evaluating our options, we decided on a flexible 145-watt panel. It turned out to be out of stock but the company offered us a semi-rigid 150-watt panel that was exactly the same size. It’s made of A+ SunPower cells by Custom Marine Products. Although we don’t intend to, this panel could be walked on and it will flex to follow a 5-degree curve – exactly what we needed for our location. And the semi-rigid is actually better for placing on a deck, as it’s designed with proper insulation.
SunPower makes great solar panels and also sells cells to other manufacturers. But not all SunPower cells are created equal! They have several different grades, with A+ being the best. This translates into more power per square inch AND more power at low sun angles and on cloudy days. Since we are very limited on space for solar, we need the highest efficiency we can get.
To stay out of the way of the boom, we taped the panel to the deck using 3M VHB (very high bond) tape (Amazon). It should be able to withstand a hurricane as it’s used to attach trim to cars. Had we used a flexible panel, we planned to put insulation under the panel; this was impossible using the semi-rigid panel as the panel was too stiff to allow the tape to make good contact with the deck with the insulation there. Custom Marine Products said that the lack of insulation won’t cause a problem with the panel output; it’s designed to be placed directly on deck.
The biggest problem in putting it on deck was that our gelcoat is oxidized and the tape would not bond well if we didn’t get down to good gelcoat. That meant that Dave had to wetsand the area where the tape would sit.
We have a Victron battery monitor (read about it here) and Victron solar controllers are extremely good. The current “best practice” for solar installations is to put each panel on its own charge controller. We knew we were going to put the new panel on a Victron SmartSolar controller; we decided to replace our existing (non-Victron) controller for the other panel with a Victron SmartSolar as well so they would all talk to each other via Bluetooth and work more efficiently. We bought the controllers from Amazon – see them here and here.
And finally, we needed wire. We bought pre-made ones – 10 gauge AWG – with solar-standard MC4 connectors on one end from Solar Marine Supply – the only marine-grade tinned wire I could find, although I’m sure other suppliers exist. No connectors are needed where the wire goes to the controller. We also bought 5 feet of 10 gauge wire to go from the controller to the batteries, and used a few ring terminals from our onboard supply to make the connections at the battery end.
As boat projects go, it went remarkably well. We tackled different phases on different days and got the charge controllers installed and the wires pulled before the panel even got here. Prepping the panel and deck, and actually taping the panel down, took about 2-1/2 hours with most of that being wetsanding the deck.
The result? We now have more than enough solar power for my energy-hog computer, a refrigerator, freezer and everything else on board. Instead of running a deficit every day, the total 495 watts from the old and new panels have our batteries floating every day.
Be sure to subscribe to The Boat Galley newsletter to keep up with what we’re up to and get helpful tips and encouragement from the water.

Carolyn Shearlock has lived aboard full-time for 17 years, splitting her time between a Tayana 37 monohull and a Gemini 105 catamaran. She’s cruised over 14,000 miles, from Pacific Mexico and Central America to Florida and the Bahamas, gaining firsthand experience with the joys and challenges of life on the water.
Through The Boat Galley, Carolyn has helped thousands of people explore, prepare for, and enjoy life afloat. She shares her expertise as an instructor at Cruisers University, in leading boating publications, and through her bestselling book, The Boat Galley Cookbook. She is passionate about helping others embark on their liveaboard journey—making life on the water simpler, safer, and more enjoyable.
Your VHF can do so much! Learn how to use ALL its features for just $39:





Leave a Reply