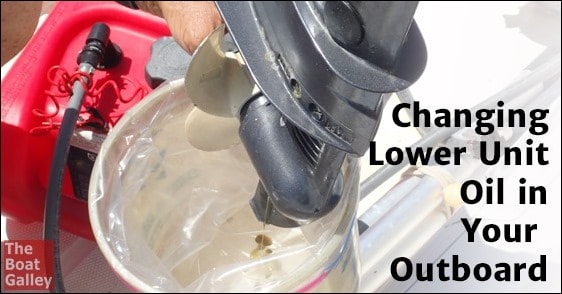
If you have an outboard on your dinghy, you’re going to have to periodically change the lower unit oil. Your owner’s manual will tell you how often it should be done, where the drain plugs are and what oil to use.
Here, I’ll explain more about how we set things up – it’s actually fairly easy to do this way. If you have either dinghy davits or an outboard crane, this works well.
Start by making sure you have sufficient lower unit oil. It doesn’t take a lot but you don’t want to find out that you’re out after you’ve drained the old oil. You’ll also need a few old rags or shop towels but it’s really not too messy.
Dave begins by lining a small bucket with a 2-gallon Ziploc bag. You could also use a trash bag inside a 5-gallon bucket.
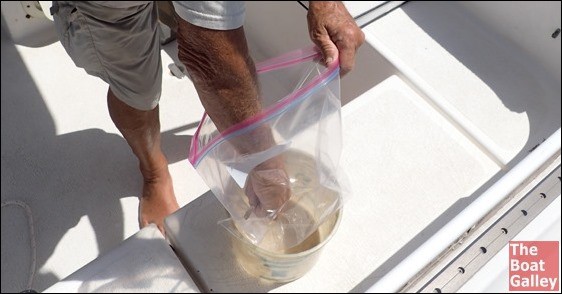
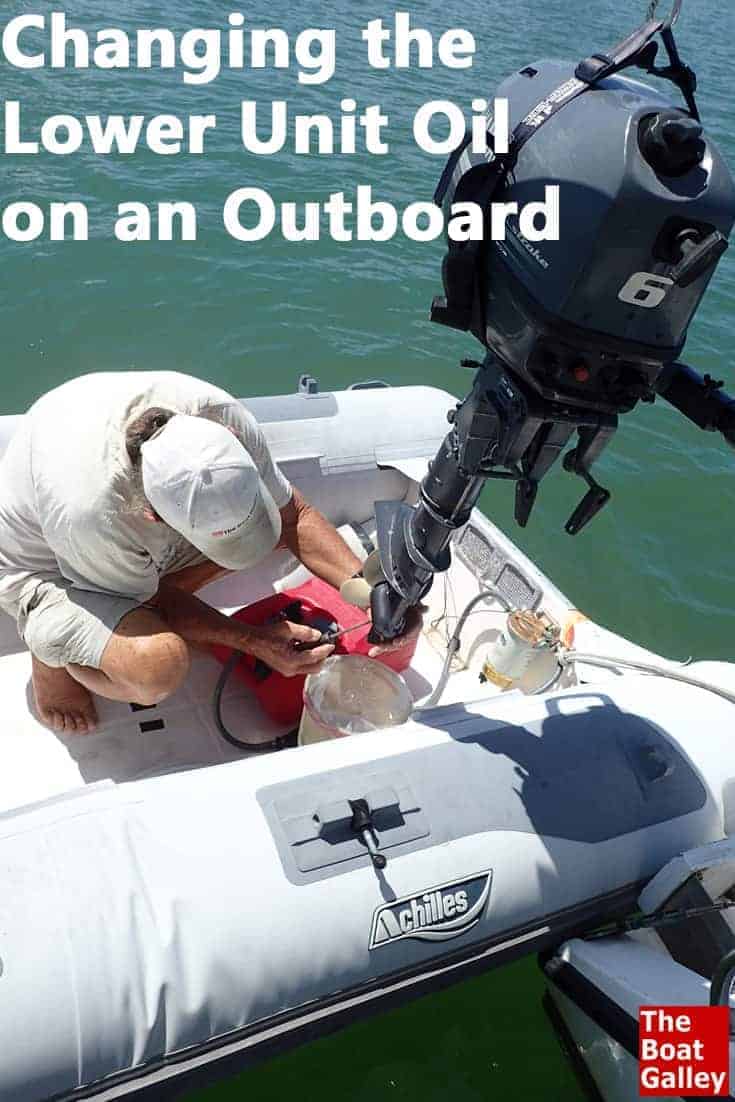
Using your dinghy davits or outboard crane, hang the outboard so that the bottom is roughly a foot above the water and position your dinghy under it. This is much easier than trying to leave the outboard on the stern rail and stand in the dinghy to drain and fill the oil.
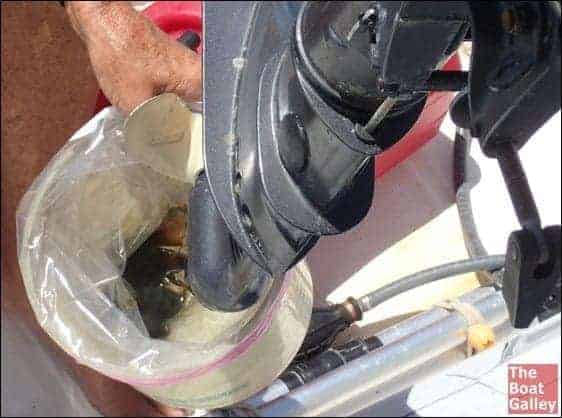
Tie your dinghy as tightly to the boat as possible (fore and aft) so it will stay exactly in position. Put the lined bucket under the bottom of the outboard. If your dinghy floor slopes, wedge the bucket in so that it stays in place. If there is any significant waves (wind or boats), you might want to tie the outboard off so it can’t swing.

Drain the old oil into the lined bucket.
The “correct” way to refill the oil is to fill it through the lower screw (drain hole) until it comes out the top hole. This is to ensure that there is no air bubble trapped. Then you quickly replace the lower screw and top it up through the top hole. Wait a minute to see if an air bubble rises, top it up again if needed, then replace the top screw.
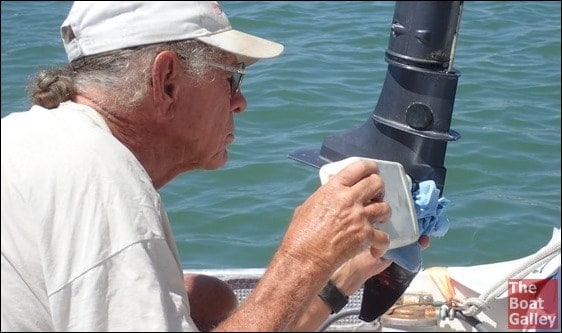
As you do this, keep the bucket in place as some of the new oil will likely spill – Dave also holds a shop towel just below the fill hole. After replacing the fill screw, wipe down the outside of the motor where there might be any drips. You want to keep as much oil from getting in the water as possible!
We usually use a blue shop towel and then stick it in the bucket, where it soaks up the oil in the bag. That way, should the bag open and spill on the way to where it’s being disposed of, there’s very little mess to clean up (can you guess how we learned the importance of this?).
All done! Be sure to dispose of the oil and oily rags appropriately.

Carolyn Shearlock has lived aboard full-time for 17 years, splitting her time between a Tayana 37 monohull and a Gemini 105 catamaran. She’s cruised over 14,000 miles, from Pacific Mexico and Central America to Florida and the Bahamas, gaining firsthand experience with the joys and challenges of life on the water.
Through The Boat Galley, Carolyn has helped thousands of people explore, prepare for, and enjoy life afloat. She shares her expertise as an instructor at Cruisers University, in leading boating publications, and through her bestselling book, The Boat Galley Cookbook. She is passionate about helping others embark on their liveaboard journey—making life on the water simpler, safer, and more enjoyable.
Andrea Clark says
Kevin Clark
Michelle Rene says
Terrific tip
Ted Reshetiloff says
Note one should always replace the sealing washers on the screws when changing the oil. Many people skip this step and eventually end up with water in their lower units which is great for us Yamaha dealers. Lol